BLOG – Nature’s Paint – CAMOUFLAGE FACE PAINT-NATURE’S PAINT
2/1/2022
0 Comments
You’ve seen at just about every level of sports played. The professionals rock it, the high school athletes utilize it, and those little leaguers and peewee players want to look just like their favorite players. Its become a staple when it comes to being game-ready. But, that begs the question, does it actually work?
Before we dive into the subject, let’s have a look at what it is…
Eye black, also known as anti-glare is paint or grease used under athletes’ eyes and actually has multiple purposes. First, it’s used to help prevent glare from the sun and stadium lights. Second, it’s worn to help increase contrast—to be able to pick up a white baseball against a similar colored background. Third, as an intimidation factor. There is just something about eye black that says I’m game-ready and you better watch out.
So, does it actually fulfill its three purposes?
To answer this question we have to discuss how the eyes, light, and color work (at a very high level). The eyes contain a type of cell that helps us see color. They are called cones. The color of an object depends on the object’s frequency and how it’s absorbed or reflected. In the simplest terms possible, when frequencies between the object and light waves match, the colors are absorbed. When they don’t match, the colors reflect. For example, when you see a blue object it reflects blue frequencies and absorbs all others.
Think about what happens when you are trying to see something that is competing with a bright light. That bright light produces glare and the object you are trying to see becomes difficult to see. This glare also impacts the light frequencies which have a bit of a blur effect because the object is less defined.
Let’s apply this same concept to a ball field. Whether you are in a stadium under bright lights or the blazing sun there will be some sort of glare (due to the imbalance of light sources), especially when looking up to catch a fly ball.
This is where eye black comes in.
Antiglare and Contrast
Remember how light absorption and reflection cause the color of an object. Well, the color black absorbs almost every light frequency. So, when an athlete applies black swipes of paint under their eyes that black absorbs the excess light. In theory, this helps reduce the glare from the bright lights and increase contrast to better define the ball.
Intimidation Factor
Last, but not least there is the intimidation factor. Whether it’s a single swipe under the eyes or a more creative design, a little black paint adds an extra flair to an athlete’s uniform. It sends a message to the opponent letting them know that player means business.
So, does eye black actually work?
Based on how the eyes work paired with the thousands and thousands of athletes who utilize it, we say yes. It’s a multipurpose tool that can help the athlete perform better and add a little extra flair to their uniform.
Remember, not all anti-glare eye black is created equal. Many paints on the market are made with low-quality, synthetic and harmful ingredients (things you really don’t want to put on your skin). These ingredients are known to cause skin irritations and breakouts. When you switch to an all-natural anti-glare eye black you will notice those skin irritations simply don’t exist and you can focus on your game and only your game.
At Nature’s Paint, we are dedicated to providing 100 percent natural sports eye black that you can depend on to keep though bright lights at bay throughout your game and come off with the swipe of a towellet at the end of the day. Learn more about Nature’s Paint!
|
Article by Nicole Spires, Nature’s Paint Co-Founder |
0 Comments
Top Selling Football Eye Black and Stickers for Performance
The Best Eye Black For Football
Football players will wear eye black during the games to help prevent the glare from the lights from the stadium or the brightness from the sun.
Regardless of what position you play on the gridiron, you want to be able to see without any issues during the game.
Some choose to wear eye black for football for the style, while others may need it to see more clearly on the field. No matter what reason you may choose to wear your football eye black, we have you covered.
Below is a list of the best football eye black and stickers for football players on Amazon based on the top reviews.
The Best Football Eye Black And Stickers For Football Season
WILSON Eye Stick, Black
- Reduces glare
- Easy to apply
- Black in color
Art of Sport Eye Black Accessory Sporting Goods for Athletes, Use for Baseball, Softball Football & Lacrosse, Anti-Glare Sun and Stadium Light Protection, 0.15 oz (1 Pack)
- Performance vision: Reduces glare from sun or stadium lights; use for day or night games.
- Non-bleed formula: Black color goes on smoothly and stays in place with an easy-to-use stick.
 Washes off easily.
 - Game ready: Used by pro athletes.
 Washes off easily.
Franklin Sports Glare Reduction Eye Black
- Made in Taiwan
- Reduces glare from sun and overhead lights
- Nontoxic bee’s wax base
24 Pairs Eye Strips Sports Eye Stickers Breathable Baseball Eye Strips with White Pencil for Baseball Football Softball for Sport Fans on Game Day (Black)
- Good sports partner: providing you with enough black eye stickers which are useful sports game partners, helping you to reduce glare from the sun and allowing you to focus on the match; You can use the white pencil to write something you want or DIY on the stickers to express your idea
- Sufficient quantity: you will receive 96 pairs softball eye strips, together with 1 piece of white pencil, the amount is enough for you to use and replace, and you can use the white pencil to diy the patterns or words you like to support the game, and the pencil is erasable and reusable that you can wipe off with a cloth rinsed with water after writing
- Safe to use: made of quality material, the eye black strips and the white pencil are non-toxic and reliable for you to use, durable and safe for both kids and adults, can serve you and your families and friends for a long time
EyeBlack Football Baseball Softball Eye Black Strips, Pink
- Tested & safe product, worn by the pros
- Peel-n-stick – 2 pairs included
- Custom design services available
1,831 Reviews
Black Eye Black Grease, Single Tube
- Worn by pro athletes on the field
- Tested and safe
- Net weight 4. 5 grams
 5 grams
*Keep in mind that we may receive commissions when you click our links and make purchases, at no extra cost to you. However, this does not impact our reviews and comparisons. We try our best to keep things fair and balanced, in order to help you make the best choice for you.
More Football Product Categories
Subscribe To Get Updates On Newly Released Articles
Don’t forget to share this post!
Check Out Gridiron’s Football Training Tips Below
Speed Training Tips For Football Players
Learn the best football speed training drills to increase your fast twitch muscle fibers and give you explosive speed and agility for the football field.
Read More »
At Home Speed Workouts For Football
These football workouts at home are designed to help you increase your running speed. Implement these at home speed workouts into your training.
Read More »
Hurdle Drills for Speed
Boost your performance with top hurdle drills for speed! Explore effective speed hurdles drills and hurdle exercises to elevate your game.
Read More »
Gridiron Elite Training
Gridiron Elite Training was started to help educate and provide football players with a community to receive proper training and guidance.
We created “The Gridiron Elite Academy” which is an online football performance network that provides football players of all levels with sports performance workout programs, football position-specific drills, mindset coaching, mental toughness training, recruiting guidance and help, and nutrition programs.
The Gridiron Academy
How to shoot eyes for portrait photography. Three Easy Ways to Get It Perfect
Model Image, clockwise from top left: Chris Milligan / Fremantle Media, Rachel Lever, Danny Spanners / East Brunswick Tattoos, Tiffany Diaz
Reclusive Hollywood legend Marlon Brando always closed his eyes when the paparazzi tried to take pictures his. He knew that no one would publish the image with their eyes closed.
Eyes are the most important feature of any portrait.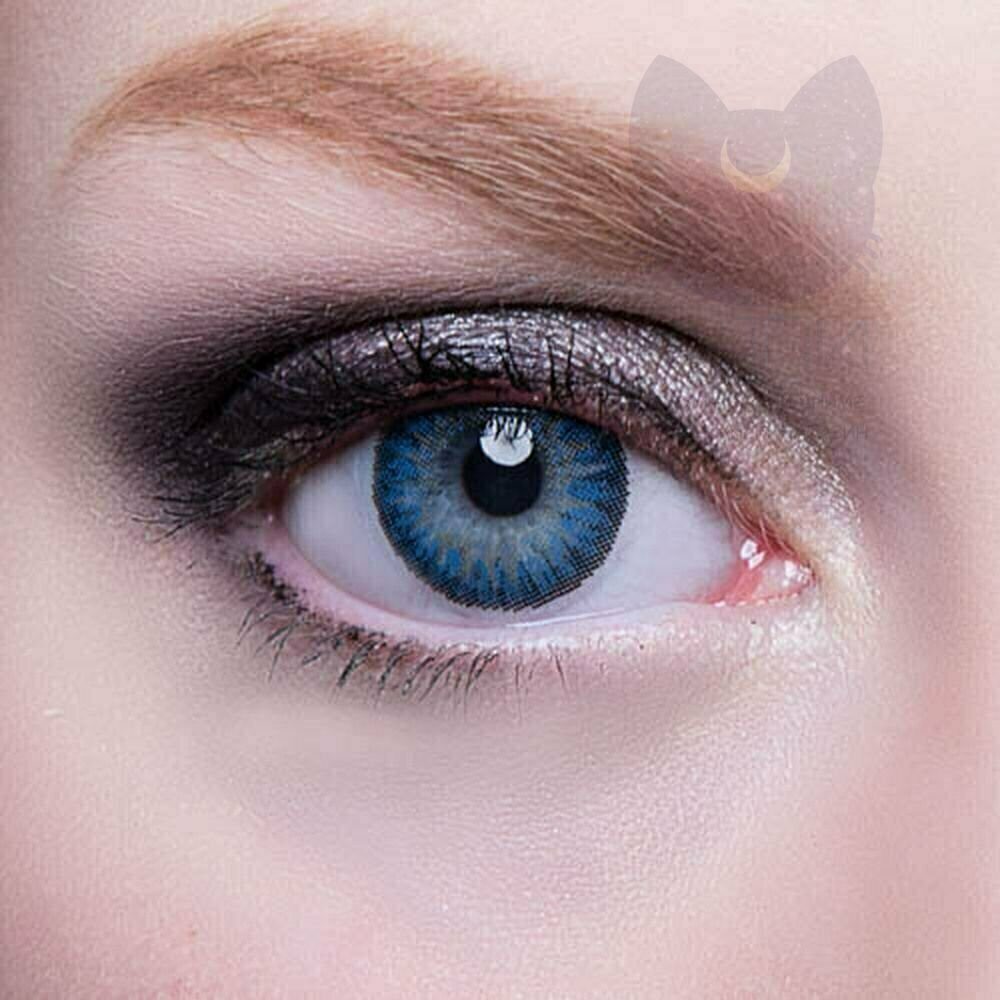 Beautifully shot eyes are able to revive even the most dull portrait. Poorly lit, out of focus, or eyes that lack contact with the viewer will weaken the effect of any portrait. In this article, photographer Gina Milicia shares three of her favorite techniques for making eyes stand out in portrait photography.
Lighting
“Light makes a photograph. Accept the light. Admire them. Love it. But first of all, know the light. Know it to the fullest and you will have the key to photography.” – George Eastman
Eyes look best when well lit with beautiful highlights. Light glare is the reflection of a light source in the eyes. The size, shape, and brightness of highlights depend on the light source you use.
Two large frosted windows from the studio create beautiful highlights. Model: Bryan Karanikos
Diffused on-camera flash creates a softer rectangular bounce flare
Medium-sized softbox off-camera at 2 o’clock produces soft, natural glare
Badly lit eyes without glare look cold and a little creepy
Beyond highlights, you can capture various reflections in the eyes of the model. This is a great way to give portraits a certain artistic vibe. There are many options – you can capture another person, an object, or even a landscape. Capturing reflections can be especially interesting when shooting close-ups of eyes – try experimenting with this!
Avoid red-eye. Red-eye in portrait photography is a common occurrence of red pupils when shooting with a flash, and it happens when it is placed very close to the camera. This effect is easily avoided by following a few portrait photography tips.
- Remove the flash from the camera. Use only off-camera flash units.
- Bounce the flash off the ceiling or walls. Use special diffusers and reflectors.
- Use a light disc to diffuse the light from the flash.
- Set the camera to red-eye reduction.
- If all else fails, red eyes can be removed in post-processing as a last resort.
Facial expression
Model: Tiffany Diaz
In the image on the left (above), Tiffany’s eyes are cold and she looks a little nervous. After the photographer gave Tiffany a visualization exercise, her eyes became warmer, more confident and focused (see the image on the right above). How you communicate with and guide your model is the key to capturing the perfect expression in the eyes. If the model’s smile is insincere, her eyes will appear cold and dull. If your model is nervous or distracted, this will also be reflected in the look.
One of the techniques that Gina uses to create great self-expression is visualization. Talk to your model. Ask her where she would like to be right now or what would she like to do? When the model is in the moment of visualizing their thoughts, body language and facial expressions magically change.
Tell the model what to do. You must choose the direction the model is looking at during framing. Looking directly into the lens will make the photo very powerful and emotional, but you don’t have to take this approach. For example, if you want to photograph the eyes from a different angle and create a softer impression, you can ask your model to look at a specific object (wall, window, chair, etc.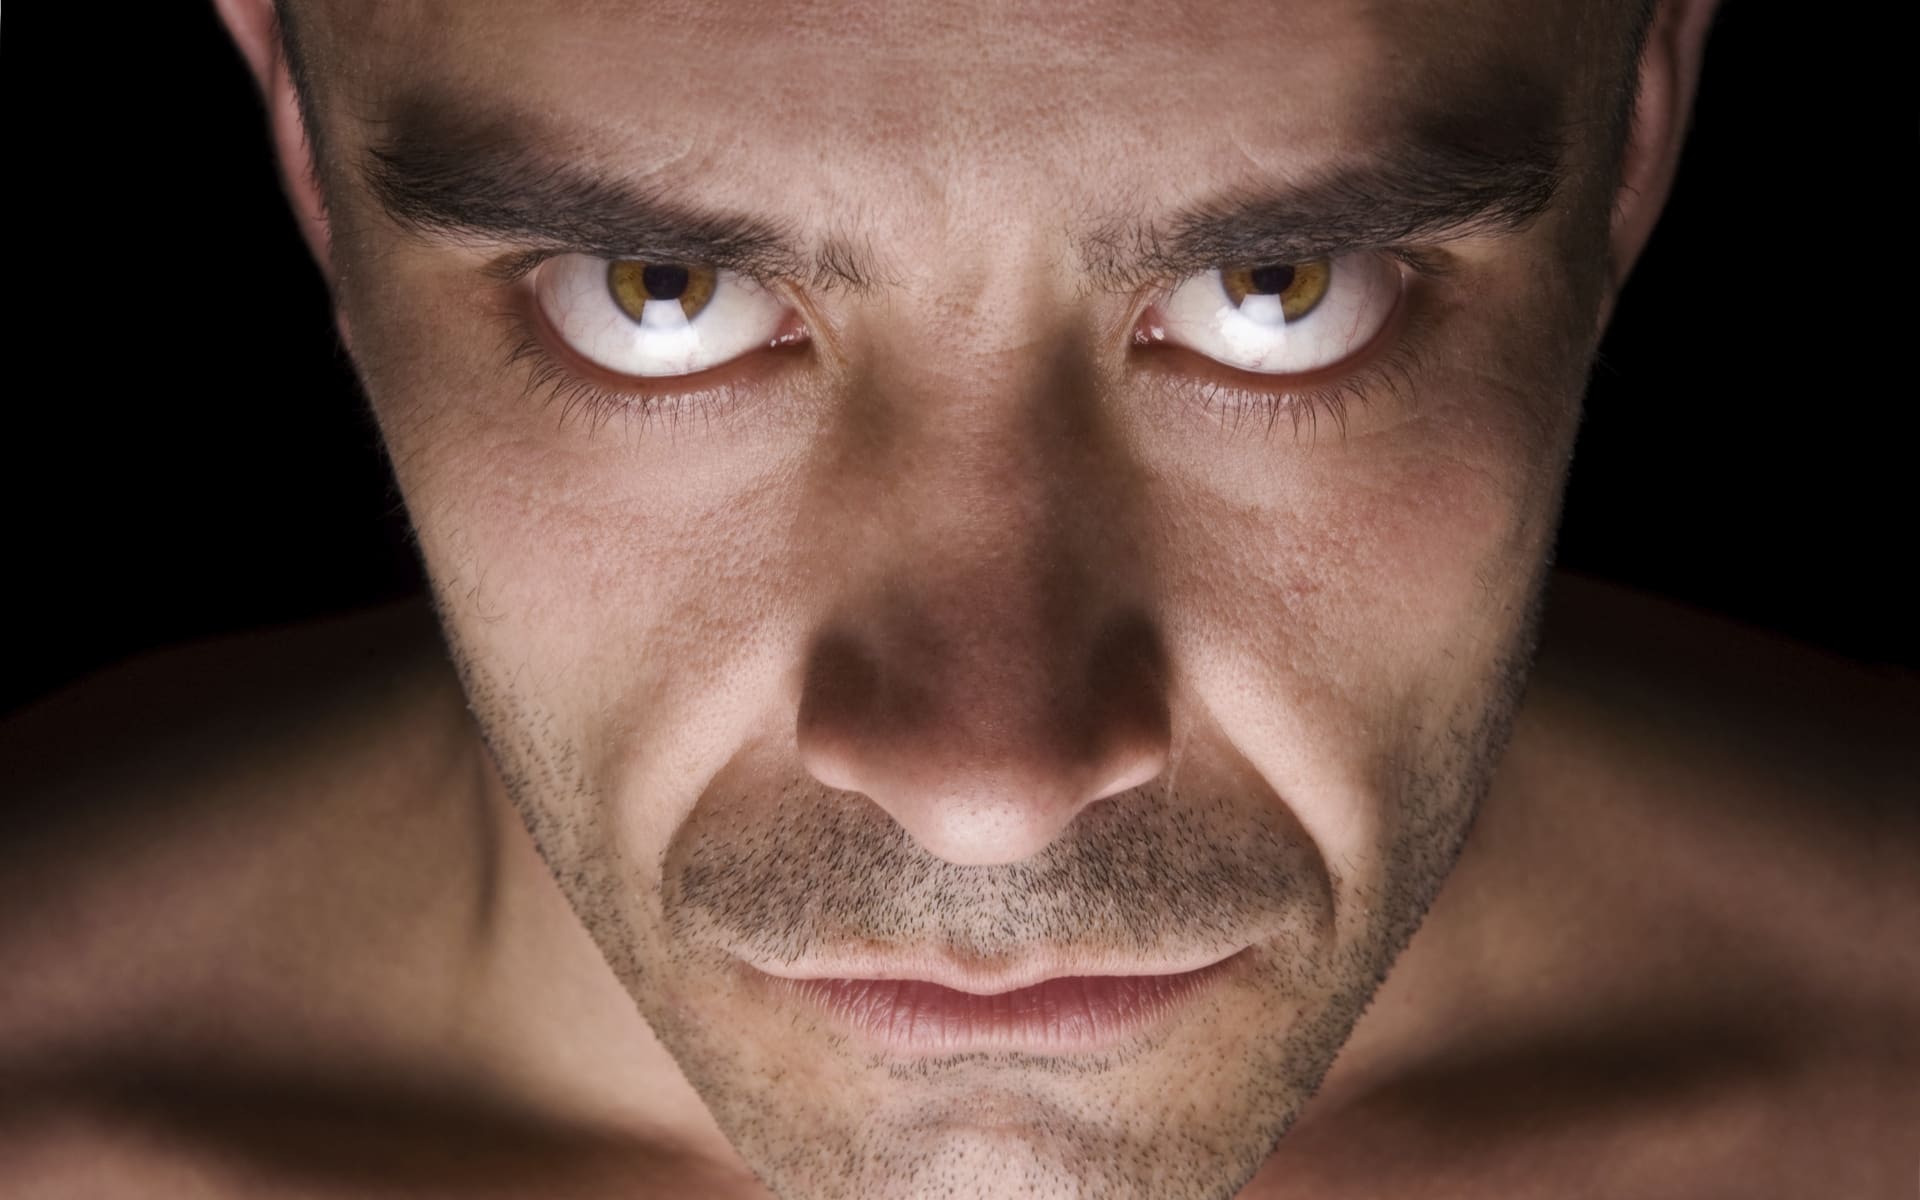 ). Also, make sure you choose the right shooting angle.
Post-processing
Post-processing can take your portrait photography from just good to the best. The key to great post-production is not to overdo it.
It’s easy to enjoy all the tricks and improvements that post-production software has to offer. When it comes to retouching, the photographer tends to use the night rule. Once Gina has worked on an image, she won’t look at it again, at least not for a day. More often than not, you’ll find that your eyes are constantly adjusting to the modifications you make, so it becomes harder to see when you’ve gone too far.
A step-by-step technique to improve eyes in a portrait in post-processing with Adobe Lightroom
Before and after: the photographer used Lightroom to sharpen and brighten the eyes and improve their color
Step 1: Import the image into Lightroom and use the base panel in the Develop module for editing the snapshot. In this case, the photographer used one of her own beauty presets.
Here are the main settings she used for this image
Step 2: Zoom in on the eyes (B in the image below) and select the Adjustment Brush (A in the image below). You can also select an adjustment brush with the keyboard shortcut “K”.
Step 3: Adjust the eye color with the adjustment brush.
- Increase the temperature slider (A) to make the eyes appear warmer.
- Increase the Exposure slider (B) to brighten the aperture.
- Increase the Shadows slider (C) to add more detail to the shadow area.
- Increase the Sharpness slider (D) to make the eyes look more detailed.
Adjust only the colored part (iris) of your subject’s eye (highlighted in red in the image above) and set the brush to a slight feathering and a slight bleed so you can build up the adjustments slowly.
Step 4: Then select a new adjustment brush (A, bottom), increase the Sharpness slider (B, bottom) to +22 and paint over the colored part of the eyes, eyelashes and eyebrows. This will make your eyes stand out.
Step 5: Finally, select a new adjustment brush. Set the Exposure slider to -29, and increase the clarity to +10. Paint along the edge of the iris. This will darken the area a bit and give the eye more definition.
The final portrait was imported into Adobe Photoshop where the photographer did some basic skin retouching to remove a few small blemishes.
That’s it!
Eye treatment: 4 simple and effective techniques | Articles | Photo, video, optics
The eyes are the first thing the viewer looks at when they see a portrait (unless, of course, it’s a nude). Therefore, the “mirrors of the soul” require no less attention for retouching than the skin. How to make the look expressive? How to remove redness and capillaries? How to change eye color? We answer the most common questions and show how to achieve an attractive, bright look with the help of eye retouching.
Eye retouching will help draw attention to the portrait / Illustration: Elizaveta Chechevitsa, Fotosklad. Expert
How to make the look expressive?
Whether you’re photographing a bride, a child or a mascara model. In any of these cases, bright, eye-catching eyes will make the portrait a winning one.
To do this, you can:
- lighten the eyes, if they are in the shadow, not illuminated enough;
- make the iris more expressive. To do this, you need to add contrast to the look – emphasize the highlights, lighten individual parts of the iris, darken the border of the iris, if any. In general, add volume.
In both cases, the same algorithm will help us:
1. Create a new layer filled with gray. To do this, press Ctrl + Shift + N.
In the window that opens, select the overlay mode Overlay / Overlay and check the box Fill the layer with 50% gray / Fill with Overlay-neutral color / Take the tool Brush / Brush (hotkey B) in the panel on the left.
On the panel at the bottom left, click on the icon with black and white squares. This is necessary so that the colors in the drawing palette become black and white – we will work with them / Illustration: Elizaveta Lentchevicha, Fotosklad.Expert
3. Set the settings:
- brush hardness – 0%;
- opacity – 5-10%.
4. Use a white small brush to brighten the iris at the bottom of the eye, accentuate the highlights.
If the eye is in shadow, enlarge the brush and generally brighten the eye, touching the eyelids and eyelashes to “pull” it out of the shadow. The main thing is not to overdo it – if you lighten the eyes too much, it may look unnatural + noise may appear.
Switch to black and emphasize the border of the iris, if any. You can slightly darken the upper part of the eye to add volume. So you can slightly darken the pupil.
An approximate drawing that can be obtained on the eye, as well as the result of such work / Illustration: Elizaveta Chechevitsa, Photostore.Expert
This retouching method is called dodge&burn and it is used not only in retouching the eyes, but also the skin. Read more about it in the text.
How to remove red eyes?
Eye redness can be caused by flash or contact lens irritation, cosmetic allergy, or if the model has not had enough sleep. Naturally, turning off the lights, removing the lenses, removing the make-up and sending the model to bed is not an option, it is too late to retreat during the shooting. We tell you how to remove the redness of the eyes in post-processing.
1. Open a photo. Take the tool Quick Selection / Quick Selection . In the top line of the manual editing tools settings, select the brush with +.
By clicking with the left mouse button, gradually outline the red white of the eye with it / Illustration: Elizaveta Lentchevich, Photostore.Expert
To make the selection neat, reduce the size of the brush. If by chance you have selected extra ones, then take a brush with – and erase the selection where it should not be. For example, in no case do not highlight the inner corner of the eye – the lacrimal lake.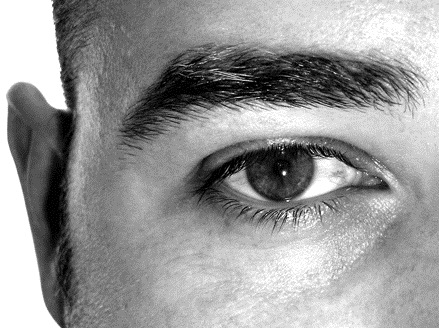
2. On the palette Layers / Layers click on the black and white circle and take the tool Hue / Saturation / Hue / Saturation .
3. Click on the drop-down list General / Master and select red from the list.
4. Move the slider Saturation to the left. No need to take it to -100. In this case, the look will be unnatural.
Working values of the slider Saturation: from – 45 to – 15 / Illustration: Elizaveta Chechevitsa, Photosklad.Expert
In case you only noticed at the end that you missed something and captured the extra, click on the mask – the black rectangle next to it on the Hue / Saturation layer. Take a black brush if you want to erase the discoloration correction (for example, you accidentally hit the eyelid) and a white one if you want to add.
How to remove capillaries?
Even after bleaching, capillaries may remain on the eye, which will interfere with the perception of the photo. We’ll show you how to remove them.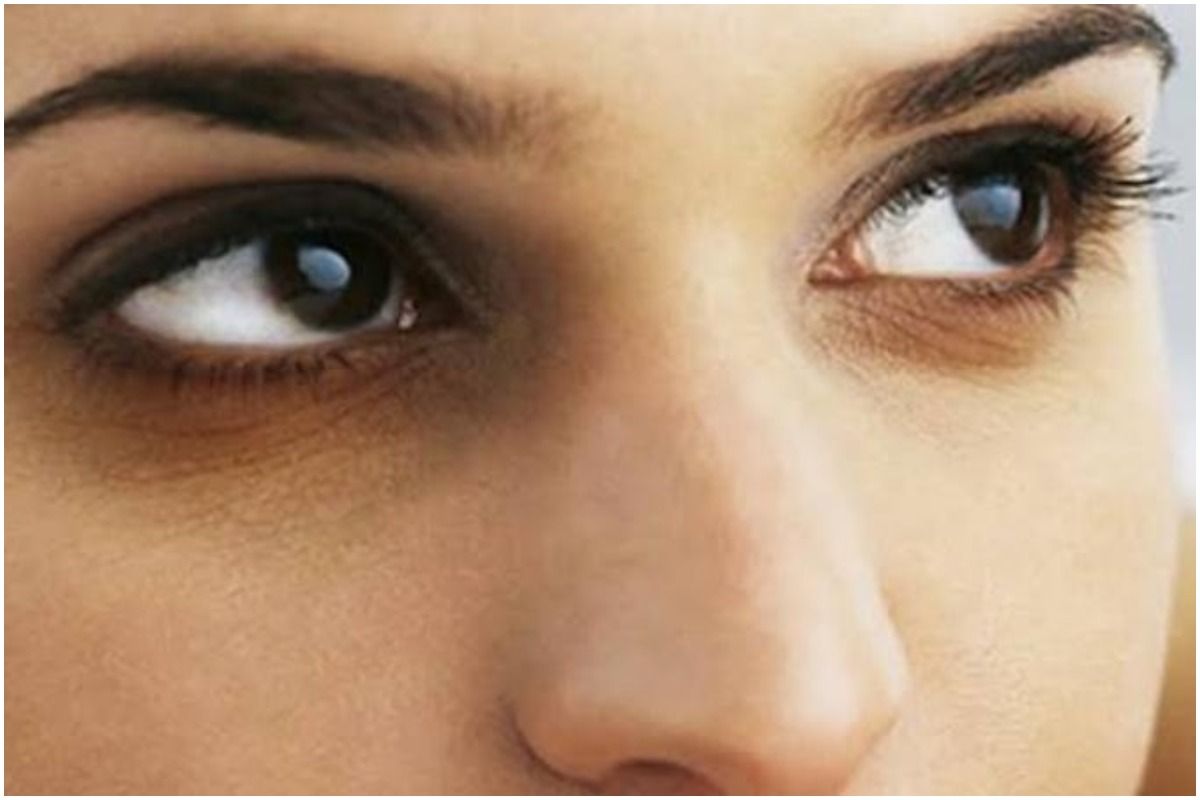
1. Take the selection tool Quick Selection / Quick Selection . Also, as in the paragraph about removing redness, select the white of the eye. It is important that the selection is as accurate as possible – do not “stop” on the eyelid and iris.
2. Left click on the background layer. Copy the selection by pressing the keyboard shortcut Ctrl + J. Now on a separate layer you will have a copy of the white of the eye. Stand on this layer by clicking the left mouse button.
3. You can also use the Stamp or Healing Brush to remove capillaries, but command 9 will do it faster0138 Filter / Filter – Noise / Noise – Dust and scratches / Dust and Scratches .
Standing on the copy of the cut out whites of the eyes with capillaries, go to the filter Dust and scratches / Illustration: Elizaveta Lentchevich, Photostore.Expert
4. Move the slider Radius / Radius to the right until the capillaries disappear.
Depending on the size of the portrait, the parameter can vary from 4 to 15 pixels.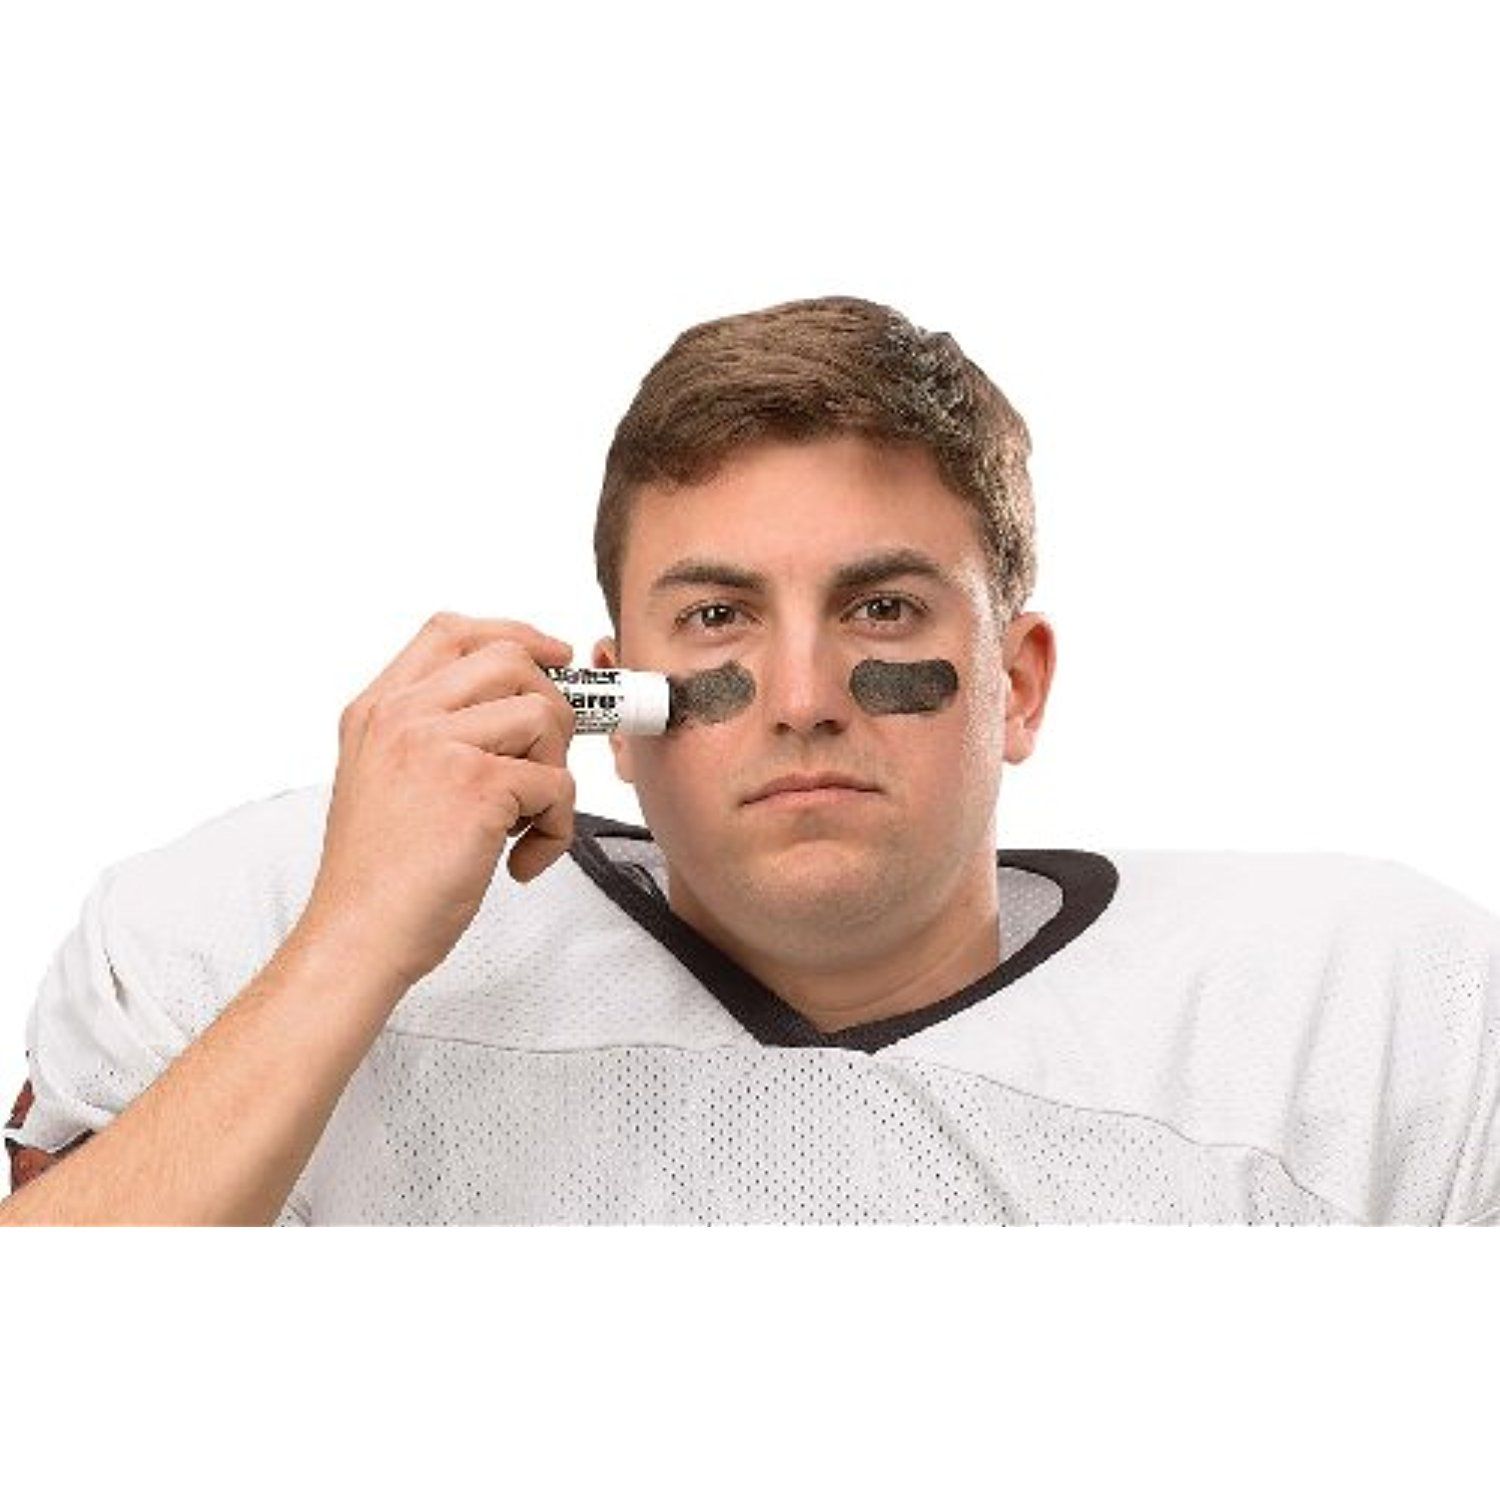 Leave the Cutoff / Threshold parameter at 1 / Illustration: Elizaveta Lentchevicha, Photostore.Expert
Often this is more than enough. But if you have a large beauty portrait, then additional manipulations may be necessary.
5. Hold down Ctrl and left-click on the protein layer. The selection will return – a dotted line will appear around the protein, which is called “marching ants”.
6. This step is needed if there are dark marks from the capillaries. Take the Mixer Brush tool.
Mix brush settings / Illustration: Elizaveta Chechevitsa, Photostore.Expert
Carefully, without spoiling the chiaroscuro, smear the protein where the capillaries left stains. If after that the chiaroscuro is still spoiled, you will have to return it using the Dodge&burn method.
7. Without removing the selection, go to Filter / Filter – Noise / Noise – Add noise / Add Noise . This is to bring back the detail that the Mix Brush erased.
Filter settings Add noise / Illustration: Elizaveta Lentchevicha, Fotosklad.