How can you ensure your hockey gear provides optimal protection. What are the key factors to consider when selecting protective equipment. Which materials offer the best combination of safety and comfort. How do you properly maintain and care for your hockey gear.
Choosing the Right Protective Cup: Materials and Fit
Selecting the appropriate protective cup is crucial for any hockey player’s safety and comfort. High-density foam and carbon composite materials have emerged as superior alternatives to traditional hard plastic cups. These modern materials offer enhanced shock absorption and flexibility, allowing for better movement on the ice.
To find the perfect fit, measure your hip and waist circumference and consult sizing charts. A well-fitted cup should feel snug without causing discomfort or restricting movement. Test the fit by walking around and sitting down to ensure it stays in place during various activities.
Key Features to Look for in a Protective Cup
- Ventilation and moisture-wicking properties
- Antimicrobial lining to reduce odor
- Ergonomic, contoured shape for improved comfort
- Adequate coverage, including protection for the pubic bone
- Multi-layered foam or polycarbonate construction for maximum impact protection
Optimizing Comfort and Protection with Hockey Shorts
The right pair of hockey shorts plays a vital role in keeping your protective cup securely in place. Opt for shorts specifically designed for hockey, featuring an internal pocket to hold the cup. Look for lightweight, moisture-wicking materials such as polyester or nylon blends that offer stretch and full range of motion.
Adjustable waistbands and leg openings are essential for achieving the perfect fit. Ensure the shorts allow for comfortable movement when wearing full hockey gear. Flatlock stitching and strategically placed seams can help prevent chafing during intense gameplay.
Additional Features for Enhanced Protection
- Padding in the thigh, hip, and tailbone areas
- Abrasion-resistant fabrics for increased durability
- Double-stitched seams for longevity
- Easy access design for cup insertion and removal
- Odor-fighting technologies such as silver ion fabrics or activated charcoal filters
Proper Sizing and Fit: Ensuring Optimal Performance
Finding the right size for both your protective cup and hockey shorts is crucial for maximizing protection and comfort on the ice. How can you determine the ideal size for your body type? Start by taking accurate measurements of your waist, hips, and thighs. Consult manufacturer sizing charts to find the best match for your dimensions.
When trying on hockey shorts, pay attention to how they fit with your full gear. Can you perform typical hockey movements like squatting, striding, and shooting without feeling restricted? The shorts should provide a snug fit without being too tight or baggy.
Tips for Achieving the Perfect Fit
- Try on shorts with your complete hockey gear
- Perform a range of movements to test mobility
- Ensure the waistband stays in place during activity
- Check for any areas of discomfort or chafing
- Consider the thickness of your base layers when selecting a size
Material Matters: Selecting Durable and Protective Fabrics
The choice of materials for your hockey protective gear can significantly impact its performance and longevity. What factors should you consider when evaluating fabric options? Durability, breathability, and moisture-wicking properties are all crucial elements to keep in mind.
Synthetic blends like polyester and nylon offer excellent moisture management, helping to keep you cool and dry during intense gameplay. These materials also tend to be more abrasion-resistant than natural fibers, extending the life of your gear.
Advanced Fabric Technologies for Hockey Gear
- Four-way stretch fabrics for enhanced mobility
- Antimicrobial treatments to combat odor-causing bacteria
- Thermal regulation technologies for temperature control
- Reinforced panels in high-wear areas
- Water-repellent coatings to keep gear dry
Maintaining Your Hockey Equipment: Cleaning and Care Tips
Proper maintenance of your hockey gear is essential for ensuring its longevity and effectiveness. How often should you clean your equipment, and what’s the best way to do it? Ideally, you should air out your gear after every use and perform a thorough cleaning at least once a week during the season.
For protective cups and shorts, follow the manufacturer’s care instructions carefully. Many items can be machine washed on a gentle cycle with cold water. Use a mild detergent and avoid fabric softeners, which can break down moisture-wicking properties.
Essential Care Tips for Hockey Gear
- Air dry equipment thoroughly after each use
- Use antibacterial sprays or wipes for quick refreshing between washes
- Inspect gear regularly for signs of wear or damage
- Replace protective equipment that shows significant wear or loss of effectiveness
- Store gear in a cool, dry place to prevent mold and mildew growth
Customizing Your Protection: Tailoring Gear to Your Playing Style
Every hockey player has unique needs when it comes to protective gear. How can you customize your equipment to suit your specific playing style and position? Consider factors such as the level of physical contact you typically encounter and any areas where you’ve experienced injuries or discomfort in the past.

For example, defensemen might opt for additional padding in the shin and ankle areas to withstand blocked shots, while forwards may prioritize lightweight, flexible protection for increased speed and agility. Goalies require specialized equipment designed to withstand high-impact shots from various angles.
Customization Options for Hockey Protective Gear
- Interchangeable padding systems
- Adjustable straps and closures for a personalized fit
- Position-specific gear designs
- Custom molding options for certain protective elements
- Aftermarket modifications for enhanced protection in specific areas
Leveraging Technology: Innovative Features in Modern Hockey Equipment
The world of hockey equipment is constantly evolving, with new technologies and innovations emerging to enhance player safety and performance. What cutting-edge features should you look for in modern protective gear? From smart fabrics that adapt to your body temperature to impact-sensing technologies that can alert coaches to potential injuries, the latest advancements offer exciting possibilities for player protection.

One area of significant development is in lightweight, high-strength materials that provide superior protection without sacrificing mobility. Composite materials and advanced foams are being used to create gear that’s both more protective and more comfortable than ever before.
Innovative Technologies in Hockey Protective Gear
- Smart fabrics with temperature-regulating properties
- Impact-sensing technologies for real-time injury monitoring
- 3D-printed custom gear for perfect fit and protection
- Bioengineered materials that mimic natural shock-absorbing structures
- Augmented reality systems for training and performance analysis
As hockey equipment continues to evolve, staying informed about the latest advancements can help you make better decisions when selecting gear. Regularly assessing your equipment and upgrading when necessary ensures that you’re always benefiting from the most up-to-date protection available.
Beyond the Basics: Additional Protective Gear for Comprehensive Safety
While a proper protective cup and shorts are essential, they’re just part of a comprehensive hockey safety setup. What other pieces of equipment should players consider to maximize their protection on the ice? From head to toe, there are numerous options available to safeguard against the various risks inherent in the sport.
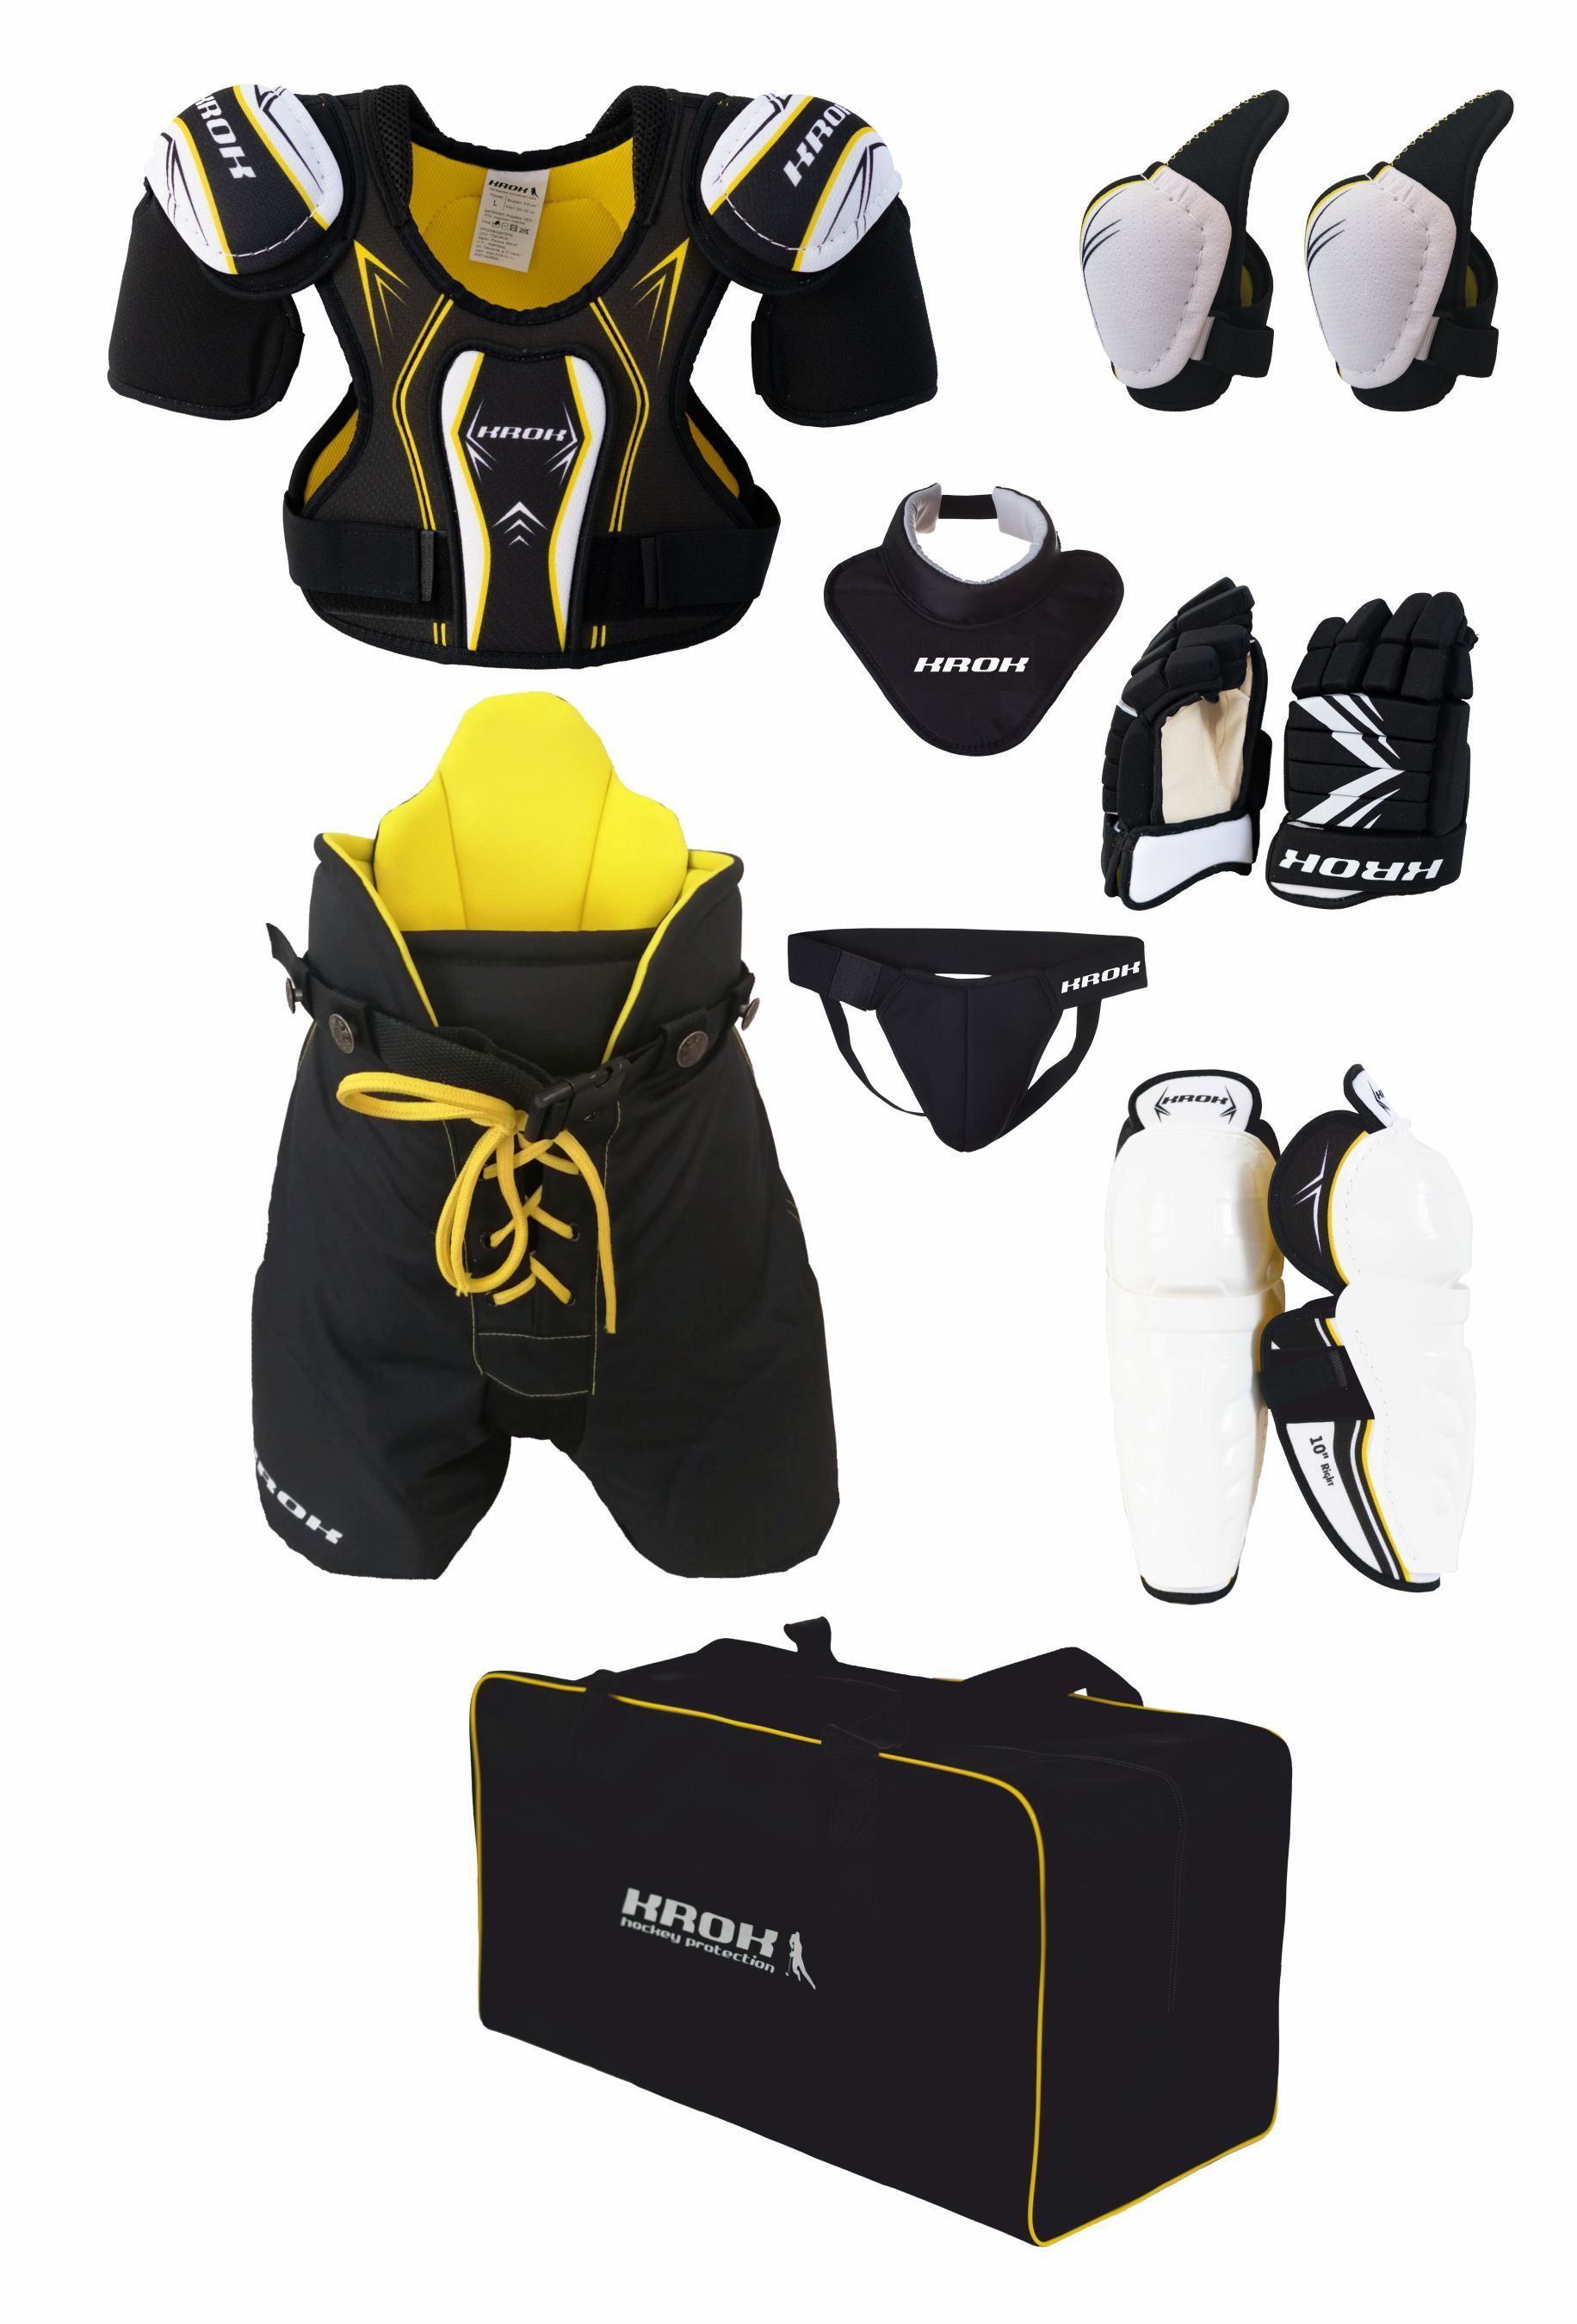
Head protection is paramount, with modern helmets offering advanced impact absorption and concussion mitigation technologies. Mouthguards are crucial for protecting teeth and reducing the risk of jaw injuries. Shoulder pads, elbow pads, and shin guards provide vital protection for the upper and lower body against impacts and falls.
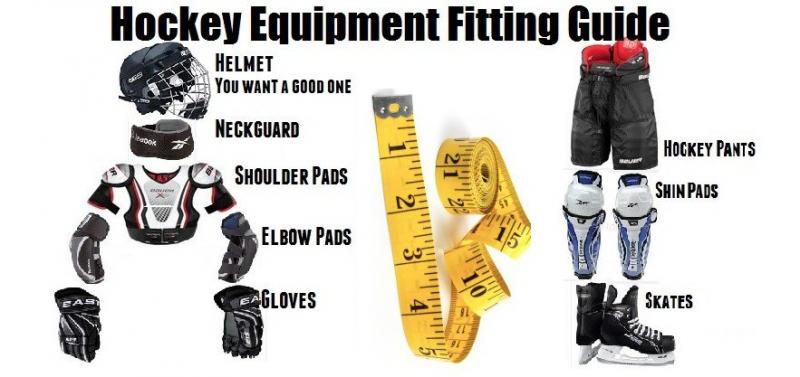
Essential Protective Gear for Hockey Players
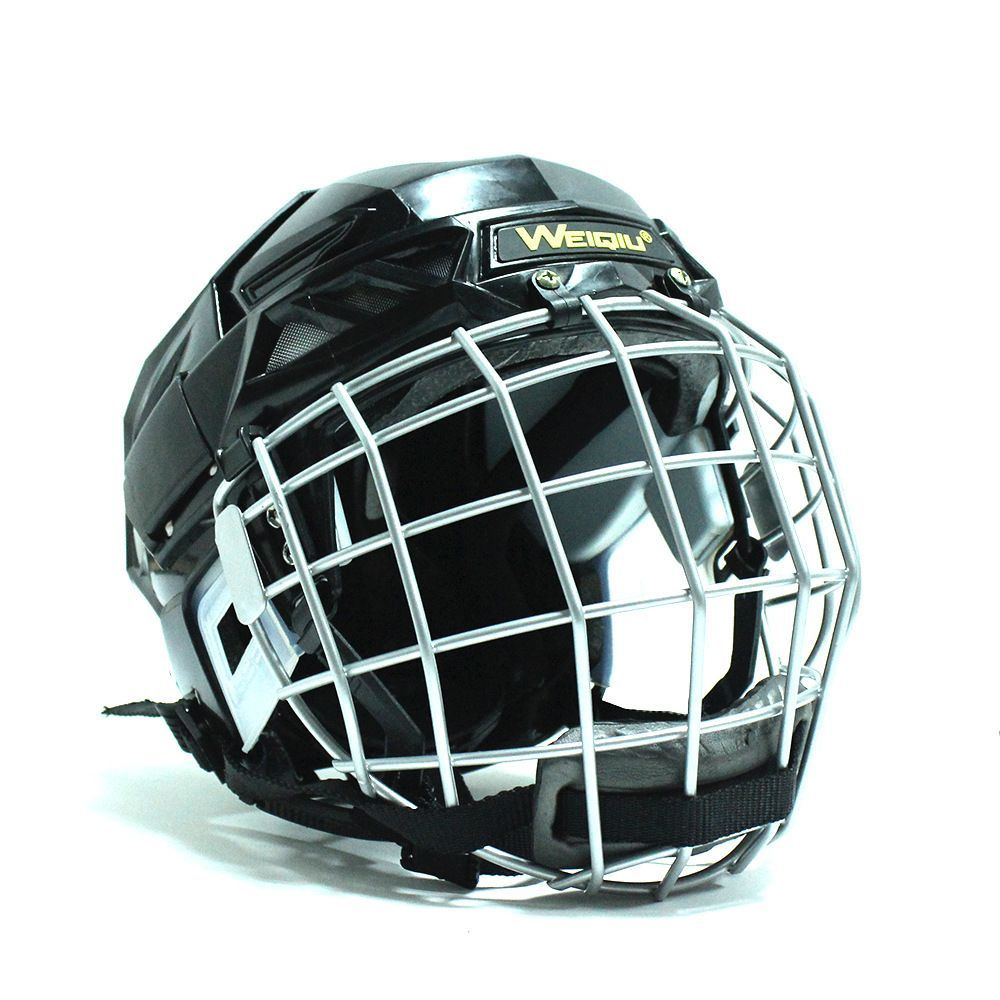
- Helmet with face shield or cage
- Mouthguard (custom-fitted for optimal protection)
- Shoulder pads
- Elbow pads
- Gloves
- Shin guards
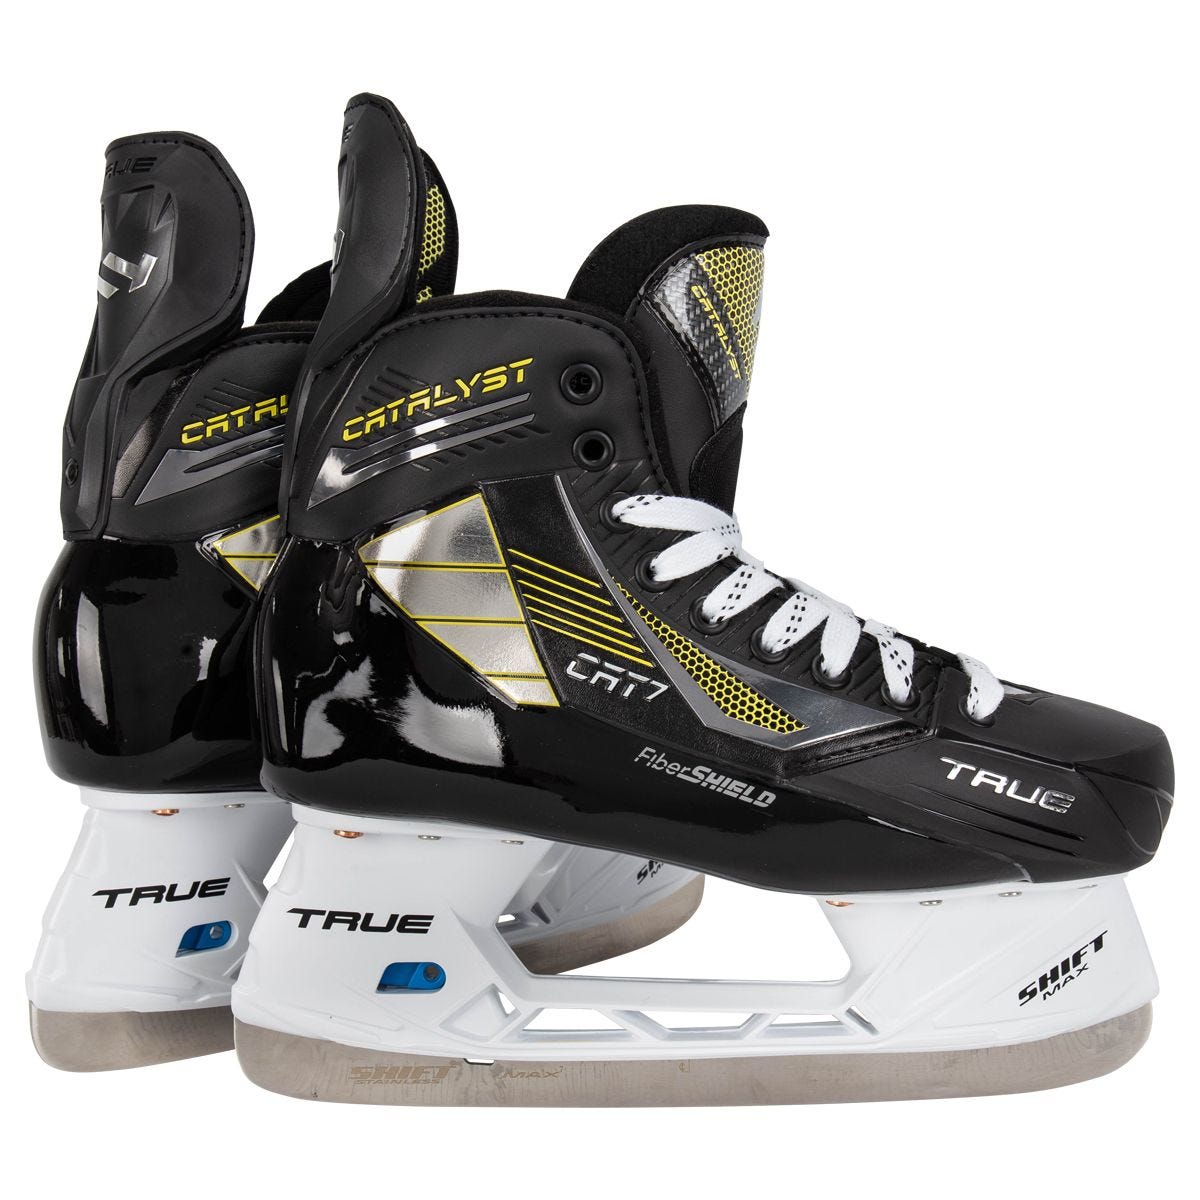
- Skates with adequate ankle support
Each piece of equipment plays a crucial role in keeping players safe on the ice. By investing in high-quality gear and ensuring a proper fit for each item, hockey players can significantly reduce their risk of injury and focus on enjoying the game.
The Psychology of Protection: Building Confidence Through Proper Equipment
The impact of well-fitted, reliable protective gear extends beyond physical safety. How does knowing you’re properly protected affect your mental game on the ice? Many players report feeling more confident and focused when they trust their equipment to keep them safe.
This psychological boost can translate into improved performance, as players feel free to push their limits without the constant worry of potential injury. Coaches and team managers can foster this confidence by emphasizing the importance of proper equipment and regular gear checks.
Benefits of Confidence in Your Protective Gear
- Increased willingness to engage in physical play
- Improved focus on game strategy and skill execution
- Reduced anxiety about potential injuries
- Enhanced overall enjoyment of the sport
- Greater longevity in the game due to reduced injury risk
By prioritizing safety and investing in quality protective gear, hockey players can create a solid foundation for success both mentally and physically. This holistic approach to equipment selection and maintenance can contribute significantly to a player’s development and enjoyment of the sport.
Choose the Right Protective Cup Material
As a life-long hockey player, I’ve learned the hard way that protecting your goods is one of the most important things you can do on the ice. Getting hit with a puck or stick down there is no joke, and can cause some serious injuries that will have you watching games from the stands instead of the bench. After years of trial and error with different cups and shorts, I’ve got some tips to share on how to choose the right protective cup and shorts combo for safer and more comfortable play.
First things first – you need to pick a cup made out of the right material. Jock straps usually have a hard plastic cup, but those can be bulky and uncomfortable. For hockey, I recommend a cup made of high-density foam or carbon composite instead. The foam ones mold to your shape better and absorb shock, while the carbon ones are ultra-light yet offer great protection. You can even get foam cups with extra carbon fiber shields for max protection and flexibility.
It’s also key to get the right size cup – too small and it won’t protect you properly, too big and it will move around and chafe. Measure the circumference of your hips and waist, then check sizing charts to get a cup that fits your body type. Try walking around and sitting down while wearing it to make sure it’s a snug and comfortable fit.
Ventilation and sweat-wicking abilities are another big factor for comfort. Look for cups with perforations or breathable mesh fabrics. Some also have antimicrobial linings to reduce odor after those sweat-filled games. You want the cup itself to stay dry, so moisture-wicking shorts are a must as well. Synthetic blends will keep you cooler and drier vs cotton shorts.
It may seem minor, but getting a cup with a comfortable shape makes a big difference. The classic circular shape can pinch and feel bulky between your legs. Newer ergonomic and contoured cups move with you better while protecting the family jewels. Anatomically correct options take it a step further for a really custom, second-skin fit.
Of course, all the breathability and comfort features don’t mean much if the cup itself doesn’t provide solid impact protection. Look for cups made of polycarbonate or using multi-layered foam for max shock absorption. Make sure it has ample coverage and comes up high enough in front to protect the pubic bone.
Once you’ve got the right cup, you need some shorts to hold it in place. Hockey shorts with an internal pocket designed to hold a cup or jock are ideal – they keep the cup from shifting around. Look for shorts made of lightweight, moisture-wicking polyester or nylon with stretch for full range of motion.
Adjustable waistbands and leg openings are key for the perfect fit. Tight leg holes will cut off circulation and limit mobility while loose ones let the shorts ride up. Well-placed seams, flatlock stitching and soft linings prevent chafing so your thighs won’t take a beating along with your ‘nads.
Getting the shorts in the right size matters too. Too baggy and they’ll get in the way, too snug and they’ll restrict your movement. Try them on with full hockey gear to ensure you can squat, stride and shoot without any pulling or resistance.
For extra protection, look for shorts with padding in the thigh, hip and tailbone areas. Those bubble pads help deflect pucks and absorb hits and falls on the ice. Just beware excess padding can make the shorts hot and bulky.
The material matters for maximizing the life of your shorts too. Look for abrasion-resistant fabrics – they’ll stand up to even the roughest ice time. Double-stitched seams are also important or the shorts will fall apart quickly. NHL level shorts can take a beating and last for years.
Easy access to swap out cups is essential too. Look for shorts with a velcro or snap fly, side snaps, or a gusseted crotch so you don’t have to fight to get it in and out each time. Jock pockets that stretch help as well.
Odor fighting technology can help keep the stink under control too. Silver ion fabrics, activated charcoal filters and antimicrobial treatments will keep you and your teammates from getting gassed out there. Because there’s nothing worse than swamp crotch aroma wafting off you in the locker room.
Finally, read some reviews online to benefit from other players experience. See what brands and models fellow puck junkies found offered the best blend of protection, comfort and durability. Ask teammates what’s worked for them too so you can try out different options.
Protecting your package properly takes some trial and error to find the perfect cup and shorts combo. But taking a puck or stick to the jewels just once will teach you real fast that it’s worth the effort. Give these tips a try to get geared up for safer play out on the ice.
Get the Correct Cup Size For Comfort
After getting cracked one too many times from an errant puck down below, I learned the hard way that rocking the wrong sized cup can leave your jewels prone to some gnarly injuries. It may not be the most glamorous part of hockey gear, but getting a protective cup that actually fits right is crucial for keeping your kibbles and bits cushioned from blows on the ice.
Most guys just grab a cup and stuff it in their shorts without thinking twice. But an improper fit can spell disaster for your twigs and berries. Too small, and a hard shot will go right through the cup and ring your bell. Too big, and the cup shifts around, pinching and chafing your boys all game long.
To get the right size, first measure around your waist and hips. Then check manufacturers sizing charts to pick a cup width that matches your body type. If you fall between sizes, go larger – a little extra room is better than crushing the boys. But not too big or the cup will be loose and flop around unprotected.
Next, check the cup depth. You want one deep enough to protect the family jewels and public bone from slashes and shots. Shallow cups leave your spicy meatballs exposed to impacts. But too long a cup gets uncomfortable quick when sitting on the bench. Find the goldilocks depth that protects without poking you.
When you’ve got the dimensions picked, try the cup on with your hockey shorts and move around – squat, lunge, sprint, etc. It should stay centered and not pinch or rub your frank and beans. No need to suffer just to protect the the boys. If it’s uncomfortable, size up or try a different brand.
I prefer foam cups over rigid plastic ones. Foam molds to your shape better for a snug, personalized fit. It flexes with your body and absorbs impacts better too. Plastic cups are bulky and pinch but foam moves naturally with you on the ice.
Get a cup with some perforations or mesh panels too. Sweaty balls sticking to soggy cups are no bueno. Breathability and moisture wicking helps keep the family jewels cool, dry and chafe-free for max comfort over a grueling tournament.
Taking a few minutes to dial in the right sized cup pays dividends in protecting your puckered twig and berries from traumatic blows. Get one too small or big and you’ll be singing soprano and watching games with a bag of frozen peas on your crotch. Take heed and shield the seeds properly!
Look For Ventilation and Sweat-Wicking Features
As any hockey player knows, proper equipment care is essential for safe and comfortable play. Your gear takes a beating out on the ice, absorbing impacts and sweat while protecting your body. Show your equipment some TLC with these 15 tips to keep it performing at its best.
1. Air It Out
After each use, take pads, gloves, and other equipment out of your bag to dry. This prevents mildew and bacteria growth that can degrade materials and create unpleasant odors. If possible, hang or lay gear flat to allow moisture to evaporate.
2. Deodorize Regularly
Even with diligent air drying, hockey equipment can develop sour smells over time. Freshen up your gear and inhibit odor-causing bacterial growth by spraying equipment with a hockey-safe deodorizer. Look for products containing anti-microbial agents for added protection.
3. Wash Soft Goods
Increase the longevity of your gloves, pant shells, jerseys, and socks by regularly washing after use. Turn gloves inside out and use gentle detergent in cold water, then allow to air dry. For jerseys,socks, and other apparel, check label instructions to prevent damage.
4. Sanitize Hard Goods
Helmets, pads, and guards should be wiped down with an antimicrobial wipe to kill bacteria. Be sure to thoroughly dry equipment to prevent mold or mildew. Do not submerge hard goods in water, as this can degrade protective foams.
5. Inspect for Damage
Before each use, check all gear for any cracks, tears, or loosening of parts. Damaged equipment provides less protection against injury. Replace any item that shows excessive wear. For minor damage, equipment tape can temporarily patch small holes or cracks.
6. Replace Pads Regularly
With repeated impacts from pucks and sticks, pad materials compress over time, offering less shock absorption. Plan to replace shin guards, shoulder pads, pants, and other pads every 2-3 years. Ensure a proper fit as you grow and your gear wears out.
7. Upgrade Your Helmet
Due to foam breakdown, replace your helmet at least every 5 years. New technologies also make current helmets safer, so upgrade more frequently if possible. Ensure proper helmet fit and secure chin straps to optimize protection.
8. Keep Skates Sharp
Sharpen your skate blades regularly for optimal traction and performance. Inspect boots for adequate support. Replace skates once the interior padding compresses and offers less shock absorption and comfort.
9. Choose Moisture-Wicking Base Layers
Performance base layer tops and leggings will draw sweat away from your skin, keeping you cool and comfortable. Polyester and synthetic blends work best. Change after each game or practice to avoid odor buildup.
10. Favor Breathable Socks
Thick cotton hockey socks hold moisture against your feet, encouraging blisters and fungal infections. Instead, choose wool or synthetic socks designed to wick moisture. Change damp socks between periods to keep feet drier.
11. Seek Ventilated Gear
When shopping for pads, bags, helmets and other equipment, prioritize ventilation. Breathable mesh panels, spine vents, and moisture-wicking liner materials promote air flow. Proper ventilation keeps you cooler and drier on the ice.
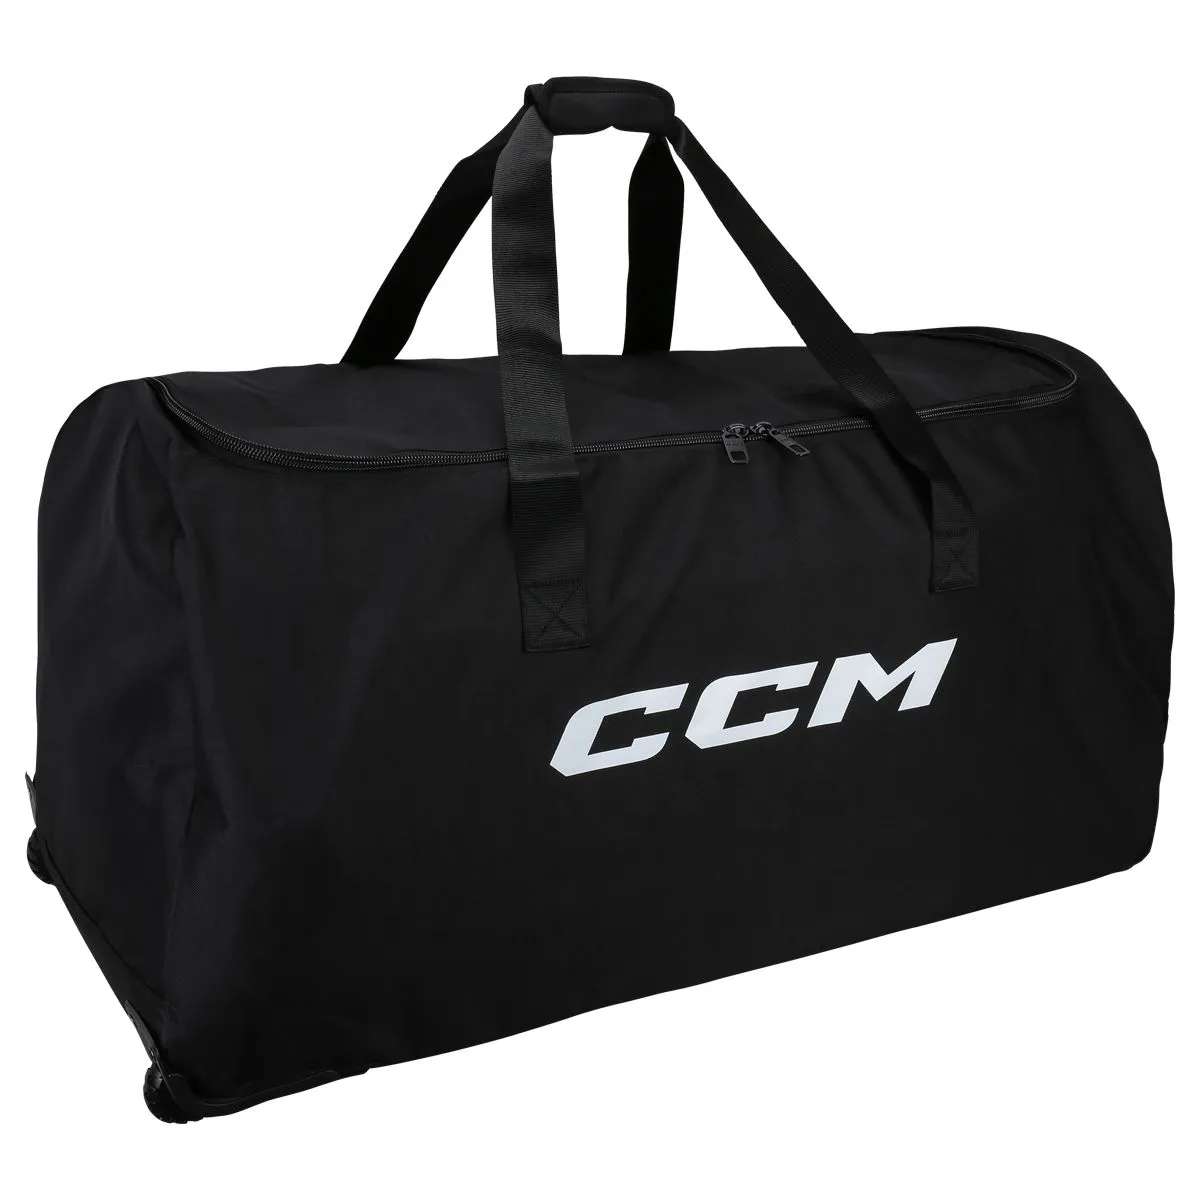
12. Use Proper Storage Bags
Protect your gear in bags specifically designed for hockey equipment. Look for bags with ventilation to prevent mold, mildew, and lingering odors. Carry separate compartments help organize gear while hard exteriors prevent damage.
13. Transport Gear Properly
Avoid piling heavy gear like skates and pads at the bottom of your bag. The weight can cause damage over time. Use protective separators and organize your bag to distribute weight evenly and prevent crushing.
14. Dry Equipment Quickly
After games or practices, don’t leave wet gear festering in your bag. Allow all equipment to fully air dry before packing away to prevent malodors and break down of materials. Stuff damp pads with newspaper to absorb moisture.
15. Replace Worn Mouthguards
Mouthguards lose their protective abilities over time. Replace guards at least every two years, or immediately if you notice cracks or tears. Properly cared for equipment not only lasts longer, but also provides better protection from injury.
In the rough and tumble sport of hockey, your equipment takes a beating every time you hit the ice. Keep safety and performance top priority by properly maintaining and replacing gear. With the right protective equipment in good condition, you can play confidently and focus on skills, not injuries.
Find a Cup With a Comfortable Shape
Hockey is an intense, high-impact sport. Having the proper protective gear is essential to avoid injuries while playing your best. Follow these 15 tips to keep your equipment in top condition for safer, more enjoyable time on the ice.
1. Prioritize Helmet Fit
An ill-fitting helmet offers less protection. Ensure yours fits snugly all around without pinching. The front should sit one finger width above eyebrows, with chin strap securely fastened so it stays put.
2. Upgrade Old Helmets
Helmet foams break down over time. Replace your lid at least every 5 years, or more often to benefit from new technologies. This ensures optimal shock absorption and protection from concussions.
3. Inspect Pads Frequently
Check shoulder pads, shin guards, pants, and other protective equipment before each use. Look for cracks, loose parts, or other damage that compromise their protective abilities. Replace anything overly worn.
4. Replace Pads Regularly

With repeated impacts, protective pads gradually lose shock-absorbing capacity. Plan to replace shin guards, shoulder pads and pants every 2-3 years. Ensure proper sizing as you grow.
5. Keep Skates Sharp
Dull blades reduce traction and control. Regularly sharpen skate blades for best edge work and maneuverability. Replace boots once interior padding compresses excessively.
6. Seek Moisture-Wicking Base Layers
Polyester and synthetic base layer tops and leggings wick perspiration away from your skin for comfort. Avoid cotton that traps dampness. Change after each on-ice session to prevent odor.
7. Favor Breathable Socks
Thick cotton hockey socks hold moisture and can cause blisters. Instead, choose wool or synthetic socks designed to keep feet dryer. Rotate pairs each period if needed.
8. Air Out Equipment After Use
Allowing gear to dry prevents buildup of odors, bacteria, and mildew. After games and practices, remove pads, gloves, and damp items from bag to fully air dry.
9. Wash Soft Goods Regularly
Gloves, pant shells, jerseys and socks last longer when washed after each use. Turn gloves inside out first. Use cold water and gentle detergent for best results.
10. Disinfect Hard Goods
Wipe down helmets, pads, guards, and hard gear regularly with antimicrobial wipes to inhibit bacteria growth. Thorough drying prevents mold and mildew buildup in equipment.
11. Deodorize Smelly Gear
Even with diligent drying, hockey equipment can develop odors over time. Freshen up your gear by lightly spraying with a sports equipment deodorizer after each use.
12. Seek Maximum Ventilation
When shopping for new gear, look for equipment with breathable panels, mesh inserts, and moisture-wicking liners. Proper ventilation keeps you dry and comfortable.
13. Use Proper Equipment Bags
Protect your gear with bags specifically designed for hockey equipment. Ventilated, compartmentalized bags with durable exteriors prevent damage in transit.
14. Transport Gear Carefully
Avoid placing skates and heavy pads at the bottom of your bag. Use protective inserts and pack strategically to prevent crushing gear.
15. Find a Cup With a Comfortable Shape
The hockey nut cup or jock is essential for protecting sensitive areas. Seek a contoured shape in moisture-wicking fabric that fits comfortably in your shorts. Replace old, worn out cups.
Caring properly for hockey protective gear helps it last longer while providing optimal protection. Inspect and upgrade equipment regularly, keep items clean and dry, and replace worn gear promptly. With quality protection that fits and functions as intended, you can play your very best on the ice.
Make Sure the Cup Has Adequate Impact Protection
Hockey is a fast, physical sport. Proper protective gear is key to playing safely and confidently. Use these 15 tips to keep equipment in top shape for optimal protection and performance on the ice.
1. Replace Old Helmets
Helmet foams break down over time, reducing shock absorption. Replace your lid at least every 5 years, or more often to benefit from new technologies that better protect against concussions.
2. Ensure Proper Helmet Fit
An improperly fitted helmet leaves you vulnerable. Your helmet should fit snugly all around without pinching, with the front sitting one finger width above eyebrows. Always fasten chin straps securely.
3. Upgrade Worn Pads
Replace shin guards, shoulder pads, hockey pants, and other protective pads every 2-3 years. With repeated impacts, their shock-absorbing abilities diminish. Ensure proper sizing as you grow.
4. Inspect Pads Before Each Use
Check all protective gear for cracks, loosening, or other damage that can compromise safety. Look over shin guards, shoulder pads, helmets, and more before each time on the ice.
5. Keep Skates Sharply Edged
Sharpen your skate blades regularly for optimal traction and maneuverability. Replace boots once interior padding compresses excessively and offers less support.
6. Choose Moisture-Wicking Base Layers
Polyester or synthetic base layer tops and leggings draw sweat away from skin for comfort. Cotton traps dampness, so opt for moisture-wicking fabrics. Replace after each on-ice session.
7. Favor Breathable Hockey Socks
Thick cotton socks retain moisture and promote blisters. Seek out wool or synthetic socks designed to keep feet drier. Rotate pairs as needed each period.
8. Allow Gear to Fully Dry
Leaving damp pads, gloves, and equipment in bags breeds odors, mildew and bacteria. After play, remove all items to thoroughly air dry before storage.
9. Wash Soft Goods After Use
Extend the life of gloves, jerseys, pant shells and socks by washing frequently. Use cold water, gentle detergent and air dry. Turn gloves inside out first.
10. Disinfect Equipment
Wipe down helmets, pads, guards and other hard gear regularly with antimicrobial wipes. Thoroughly drying equipment prevents mold, mildew and stench.
11. Deodorize Smelly Gear
Even with diligent drying, hockey equipment can take on odors. Freshen up your gear by spraying with a sports equipment deodorizer after each use.
12. Seek Maximum Ventilation
When shopping for new gear, prioritize breathable mesh panels, spine vents and moisture-wicking liners. Proper airflow keeps you cooler and drier.
13. Use Specialized Hockey Bags
Store gear in bags designed specifically for hockey equipment. Ventilated, compartmentalized bags with durable exteriors protect your investment.
14. Pack Gear Strategically
Avoid placing skates and heavy pads at the bottom of bags. Use protective inserts and distribute weight evenly to prevent crushing.
15. Make Sure the Cup Has Adequate Impact Protection
The jock strap and cup protect sensitive areas from harm. Seek a cup with molded plastic over foam for sufficient impact absorption. Replace worn cups.
Proper hockey gear care promotes safety and extends useful life. Inspect and replace worn items regularly, keep equipment clean and dry, and ensure proper fit. Quality protection is essential, so care for your gear on and off the ice.
Check For Moisture-Wicking Fabric in Hockey Shorts
Hitting the ice prepared means having high-quality protective gear in optimal condition. Use these 15 tips to care for your hockey equipment and ensure complete safety during play.
1. Replace Helmets Regularly
Helmet foams gradually break down with use, compromising protection. Replace your lid at least every 5 years to maintain adequate shock absorption against impacts.
2. Ensure Proper Helmet Fit
A helmet only protects when worn correctly. It should fit snugly all around with the front sitting one finger width above eyebrows. Always fasten chin straps securely.
3. Upgrade Old Pads
Replace shin guards, shoulder pads, pants and other protective padding every 2-3 years as materials compress with repeated impacts. Check for proper sizing.
4. Inspect Pads Before Each Use
Look over all protective equipment before hitting the ice. Scan for cracks, loosening, or other damage that can make gear less effective. Address any issues immediately.
5. Sharpen Skates Regularly
Consistent blade sharpening optimizes traction and maneuverability. Also inspect boots for adequate support. Replace once interiors overly compress.
6. Choose Synthetic Base Layers
Polyester and synthetic wicking fabrics keep skin drier by drawing moisture away from the body. Cotton retains dampness, so opt for moisture-wicking base layers.
7. Seek Moisture-Wicking Hockey Socks
Thick cotton socks hold onto moisture and promote blisters. Instead, choose wool or synthetic socks designed to keep feet dryer during play.
8. Allow Gear to Fully Dry
Leaving equipment damp encourages bacterial and fungal growth. After playing, remove all items from bags to fully air dry before storage.
9. Wash Soft Goods Frequently
Regularly machine wash gloves, jerseys, pant shells and socks in cold water with gentle detergent. Extend usable life by removing body oils, sweat and grime.
10. Disinfect Equipment
Wiping down pads, helmets, guards and other hard gear with antimicrobial wipes inhibits odor and bacteria buildup after each use.
11. Deodorize Smelly Equipment
Despite diligent drying, hockey gear can develop unpleasant odors over time. Freshen up equipment by lightly spraying with a sports gear deodorizer.
12. Opt For Maximum Ventilation
When shopping for new gear, prioritize equipment with breathable panels, mesh inserts and wicking liner materials to stay cool and dry.
13. Use Hockey-Specific Bags
Store equipment in bags designed specifically for hockey gear. Ventilated compartments with durable exteriors protect your investment.
14. Pack Gear Properly
Avoid placing skates and bulky pads at the bag bottom. Strategically pack to distribute weight evenly and prevent damage.
15. Check For Moisture-Wicking Fabric in Hockey Shorts
Look for shorts with an integrated cup pocket made of moisture-wicking fabric to keep that area dry. Replace old jock straps and cups for sufficient impact absorption.
Properly caring for hockey equipment keeps you safer on the ice while extending useful life. Inspect and replace worn gear, promote dryness, and ensure proper fit. Quality protection paired with diligent care leads to confident, high-level play.
Opt For Shorts With an Internal Cup Pocket
Hockey demands high-performance protective gear to minimize injury risk. Use these 15 tips to properly care for your equipment so you can play safely and confidently.
1. Replace Helmets Frequently
Helmet foams lose shock absorbing capacity over time. For optimal protection against concussion, replace your helmet at least every 5 years or more often.
2. Ensure Proper Helmet Fit
An ill-fitting helmet leaves you vulnerable. It should fit snugly all around with chin straps securely fastened. The front should sit one finger width above eyebrows.
3. Upgrade Pads Regularly
Replace shin guards, shoulder pads, hockey pants, and protective pads every 2-3 years as materials compress with use. Check sizing as you grow.
4. Inspect Pads Before Use
Scan all protective equipment for any cracks, loosening, or damage compromising safety before each time on the ice. Address any issues promptly.
5. Sharpen Skates Frequently
Consistent blade sharpening enhances traction and maneuverability. Also check boot support. Replace once padding compresses excessively.
6. Choose Synthetic Base Layers
Polyester and synthetic fabrics whisk moisture away from skin keeping you drier. Cotton retains dampness, so opt for moisture-wicking base layer tops and bottoms.
7. Favor Moisture-Wicking Socks
Thick cotton socks hold moisture, leading to blisters. Seek wool or synthetic socks designed to keep feet dryer and more comfortable.
8. Allow Equipment to Dry
Storing damp gear promotes bacteria and fungi growth. After playing, remove all items from bags and let air dry fully before packing up.
9. Wash Soft Goods Regularly
Machine wash jerseys, gloves, socks, pant shells, and other apparel in cold water with gentle detergent to eliminate smells and grime.
10. Disinfect Equipment
Wipe down helmets, pads, guards and hard gear regularly with antimicrobial wipes to inhibit odor and germ buildup.
11. Deodorize Smelly Gear
Despite thorough drying, hockey equipment can take on odors. Freshen up your gear by lightly spraying with a sports equipment deodorizer.
12. Choose Well-Ventilated Gear
When shopping, look for equipment with breathable mesh panels, spine vents and moisture-wicking liners to stay cool and dry.
13. Use Specialized Hockey Bags
Store gear properly in bags designed specifically for hockey equipment. Ventilated compartments with durable exteriors protect your investment.
14. Pack Gear Strategically
Avoid placing skates and bulky pads at the bottom of bags. Use protective inserts and distribute weight to prevent damage.
15. Opt For Shorts With an Internal Cup Pocket
Look for hockey shorts with a pocket to hold a cup made of moisture-wicking fabric to keep dry. Replace old jocks and cups for adequate protection.
Proper hockey gear care promotes safety and performance. Inspect and upgrade equipment regularly, keep gear clean and dry, and ensure proper fit. Quality protection paired with diligent maintenance leads to confident play.
Look For Adjustable Waistband and Leg Openings
Quality protective gear properly cared for is essential to safely enjoy hockey’s fast pace and physicality. Use these 15 tips to keep equipment in top shape.
1. Replace Helmets Regularly
Helmet foams lose impact protection over time. For optimal shielding against concussion, replace your lid at least every 5 years or more often.
2. Ensure Helmet Fits Snugly
An ill-fitting helmet leaves you vulnerable. It should fit close all around with chin straps tightly fastened. The front should sit one finger width above eyebrows.
3. Upgrade Old Pads
Replace shin guards, shoulder pads, hockey pants, and other protective pads every 2-3 years as materials compress with use. Verify proper sizing.
4. Inspect Pads Before Each Game
Check all protective equipment for any cracks, loosening or damage compromising play. Address any issues promptly before hitting the ice.
5. Sharpen Skates Frequently
Consistent blade sharpening optimizes traction and maneuverability. Also check that boot padding still offers adequate support and shock absorption.
6. Choose Synthetic Base Layers
Polyester and synthetic fabrics designed to wick moisture keep you drier. Cotton retains dampness, so opt for moisture-wicking base layer tops and bottoms.
7. Select Moisture-Wicking Socks

Thick cotton socks hold moisture and can cause blisters. Seek wool or synthetic socks to keep feet drier and prevent odor buildup.
8. Allow Gear to Fully Dry
Storing damp equipment promotes bacteria and fungus growth. After playing, remove all items from bags and let fully air dry.
9. Wash Soft Goods After Each Use
Regularly machine wash jerseys, pant shells, gloves, and socks in cold water with gentle detergent to eliminate grime.
10. Disinfect Equipment
Wipe down helmets, pads, guards and hard gear with antimicrobial wipes regularly to inhibit odor and germ buildup.
11. Deodorize Smelly Gear
Despite thorough drying, hockey equipment can develop odors over time. Freshen up gear by lightly spraying with a deodorizer after use.
12. Opt For Maximum Ventilation
When shopping, look for gear with breathable mesh panels, spine vents and moisture-wicking liners to stay cool and comfortable.
13. Use Hockey-Specific Bags
Store equipment properly in bags designed for hockey gear. Ventilated compartments with durable exteriors protect your investment.
14. Strategically Pack Gear
Avoid placing skates and bulky pads at the bottom of bags. Use protective inserts and distribute weight evenly.
15. Look For Adjustable Waistband and Leg Openings
Seek hockey shorts with a cup pocket, adjustable waist and leg openings for a comfortable, customized fit. Replace old jocks and cups.
Properly caring for hockey equipment enhances safety and extends useful life. Inspect and upgrade worn gear regularly while keeping items clean, dry, and fitted. Quality protection paired with diligent care leads to confident play.
Choose Shorts With Comfortable Stitching
Hockey requires substantial protective gear to prevent injury. Use these 15 tips to properly care for equipment so you can play safely and comfortably.
1. Replace Helmets Frequently
Helmet foams lose impact protection over time. For optimal shielding against concussion, replace your lid at least every 5 years.
2. Verify Proper Helmet Fit
An improperly fitted helmet leaves you vulnerable. It should fit snug all around with chin straps tightly fastened. Front should sit one finger width above eyebrows.
3. Upgrade Pads Regularly
Replace shin guards, shoulder pads, hockey pants, and protective pads every 2-3 years as materials compress with repeated use. Check for proper sizing.
4. Inspect Gear Before Each Use
Check all equipment for any cracks, loosening or damage compromising safety before each time on the ice. Address issues promptly.
5. Sharpen Skates Frequently
Consistent blade sharpening enhances traction and maneuverability. Also inspect that boot padding still offers adequate support.
6. Wear Synthetic Base Layers
Polyester and synthetic fabrics designed to wick moisture keep you drier. Cotton retains dampness, so opt for moisture-wicking base layer tops and bottoms.
7. Choose Moisture-Wicking Socks
Thick cotton socks hold moisture and promote blisters. Seek wool or synthetic socks to keep feet drier and prevent odor buildup.
8. Allow Equipment to Dry
Storing damp gear promotes bacteria and fungus growth. After playing, remove all items from bags and let fully air dry.
9. Wash Soft Goods Regularly
Machine wash jerseys, pant shells, gloves, and socks after each use in cold water with gentle detergent to eliminate grime.
10. Disinfect Hard Gear
Wipe down helmets, pads, guards and hard gear with antimicrobial wipes regularly to inhibit odor and germ buildup.
11. Deodorize Smelly Equipment
Despite thorough drying, hockey gear can develop odors over time. Freshen up by lightly spraying with a deodorizer after each use.
12. Seek Maximum Ventilation
When shopping, look for breathable mesh panels, spine vents and moisture-wicking liners to stay cool and comfortable.
13. Use Hockey-Specific Bags
Store equipment properly in bags designed specifically for hockey gear. Ventilated compartments protect your investment.
14. Strategically Pack Gear
Avoid placing skates and bulky pads at the bottom of bags. Use inserts and distribute weight evenly.
15. Choose Shorts With Comfortable Stitching
Look for shorts with a cup pocket and flat seam construction for irritation-free wear. Replace old jocks and cups regularly.
Properly caring for hockey equipment enhances safety and extends useful life. Inspect and upgrade worn items regularly while keeping gear clean, dry, and fitted. Quality protection paired with diligent care leads to confident play.
Get the Correct Shorts Size For Full Range Of Motion
Quality protective hockey gear properly maintained is essential for safe, high-level play. Use these 15 tips to keep equipment in optimal condition.
1. Replace Helmets Regularly
Helmet foams lose impact protection over time. For the best shielding against concussion, replace your lid at least every 5 years.
2. Verify Proper Helmet Fit
An improperly fitted helmet leaves you vulnerable. It should fit snug all around with chin straps tightly fastened. Front should sit one finger width above eyebrows.
3. Upgrade Pads Frequently
Replace shin guards, shoulder pads, hockey pants, and protective pads every 2-3 years as materials compress with repeated use. Confirm proper sizing.
4. Inspect Gear Before Each Game
Check all equipment for any cracks, loosening or damage compromising safety before each time on the ice. Address issues promptly.
5. Sharpen Skates Regularly
Consistent blade sharpening optimizes traction and maneuverability. Also inspect that boot padding still offers adequate support.
6. Wear Synthetic Base Layers
Polyester and synthetic moisture-wicking fabrics keep you drier. Cotton retains dampness, so opt for moisture-wicking base layer tops and bottoms.
7. Choose Moisture-Wicking Socks
Thick cotton socks hold moisture and promote blisters. Seek wool or synthetic socks to keep feet drier and prevent odor buildup.
8. Allow Gear to Fully Dry
Storing damp equipment promotes bacteria and fungus growth. After playing, remove all items from bags and let air dry completely.
9. Wash Soft Goods After Each Use
Regularly machine wash jerseys, pant shells, gloves, and socks in cold water with gentle detergent to eliminate grime.
10. Disinfect Hard Gear
Wipe down helmets, pads, guards and hard gear with antimicrobial wipes regularly to inhibit odor and germ buildup.
11. Deodorize Smelly Equipment
Despite thorough drying, hockey gear can develop odors over time. Freshen up by lightly spraying with a deodorizer after each use.
12. Choose Well-Ventilated Gear
When shopping, look for breathable mesh panels, spine vents and moisture-wicking liners to stay cool and dry.
13. Use Hockey-Specific Bags
Store equipment properly in reinforced bags designed specifically for hockey gear. Ventilated compartments protect your investment.
14. Strategically Pack Gear
Avoid placing skates and bulky pads at the bottom of bags. Use inserts and distribute weight evenly.
15. Get the Correct Shorts Size For Full Range Of Motion
Look for proper fitting shorts with an integrated cup pocket. Snug shorts allow full mobility without shifting. Replace old jocks and cups.
Properly maintained hockey gear enhances safety and extends equipment life. Regularly inspect and upgrade worn items while keeping gear clean, dry, and fitted. Quality protection paired with diligent care leads to confident play.
Check For Added Thigh, Hip and Tailbone Padding
Hockey requires substantial protective gear to prevent injury. Use these 15 tips to properly care for equipment so you can play safely and confidently.
1. Replace Helmets Regularly
Helmet foams lose impact protection over time. For the best shielding against concussion, replace your lid at least every 5 years.
2. Verify Proper Helmet Fit
An improperly fitted helmet leaves you vulnerable. It should fit snug all around with chin straps tightly fastened. Front should sit one finger width above eyebrows.
3. Upgrade Pads Frequently
Replace shin guards, shoulder pads, hockey pants, and protective pads every 2-3 years as materials compress with repeated use. Confirm proper sizing.
4. Inspect Gear Before Each Game
Check all equipment for any cracks, loosening or damage compromising safety before each time on the ice. Address issues promptly.
5. Sharpen Skates Regularly
Consistent blade sharpening optimizes traction and maneuverability. Also inspect that boot padding still offers adequate support.
6. Wear Synthetic Base Layers
Polyester and synthetic moisture-wicking fabrics keep you drier. Cotton retains dampness, so opt for wicking base layer tops and bottoms.
7. Choose Moisture-Wicking Socks
Thick cotton socks hold moisture and promote blisters. Seek wool or synthetic socks to keep feet drier and prevent odor buildup.
8. Allow Gear to Fully Dry
Storing damp equipment promotes bacteria and fungus growth. After playing, remove all items from bags and let air dry completely.
9. Wash Soft Goods After Each Use
Regularly machine wash jerseys, pant shells, gloves, and socks in cold water with gentle detergent to eliminate grime.
10. Disinfect Hard Gear
Wipe down helmets, pads, guards and hard gear with antimicrobial wipes regularly to inhibit odor and germ buildup.
11. Deodorize Smelly Equipment
Despite thorough drying, hockey gear can develop odors over time. Freshen up by lightly spraying with a deodorizer after each use.
12. Choose Well-Ventilated Gear
When shopping, look for breathable mesh panels, spine vents and moisture-wicking liners to stay cool and dry.
13. Use Hockey-Specific Bags
Store equipment properly in reinforced bags designed specifically for hockey gear. Ventilated compartments protect your investment.
14. Strategically Pack Gear
Avoid placing skates and bulky pads at the bottom of bags. Use inserts and distribute weight evenly.
15. Check For Added Thigh, Hip and Tailbone Padding
Look for shorts providing extra protection over vulnerable areas. Ensure shorts fit snugly. Replace old jocks and cups regularly.
Properly maintained hockey gear enhances safety and extends equipment life. Regularly inspect and upgrade worn items while keeping gear clean, dry, and fitted. Quality protection paired with diligent care leads to confident play.
Choose Shorts With Quality Materials For Durability
Hockey requires substantial protective equipment to prevent injury. Use these 15 tips to properly care for your gear so you can play safely and confidently.
1. Replace Helmets Regularly
Helmet foams lose impact protection over time. For optimal shielding against concussion, replace your lid at least every 5 years.
2. Verify Proper Helmet Fit
An improperly fitted helmet leaves you vulnerable. It should fit snug all around with chin straps tightly fastened. Front should sit one finger width above eyebrows.
3. Upgrade Pads Frequently
Replace shin guards, shoulder pads, hockey pants, and protective pads every 2-3 years as materials compress with repeated use. Confirm proper sizing.
4. Inspect Gear Before Each Game
Check all equipment for any cracks, loosening or damage compromising safety before each time on the ice. Address issues promptly.
5. Sharpen Skates Regularly
Consistent blade sharpening optimizes traction and maneuverability. Also inspect that boot padding still offers adequate support.
6. Wear Synthetic Base Layers
Polyester and synthetic moisture-wicking fabrics keep you drier. Cotton retains dampness, so opt for wicking base layer tops and bottoms.
7. Choose Moisture-Wicking Socks
Thick cotton socks hold moisture and promote blisters. Seek wool or synthetic socks to keep feet drier and prevent odor buildup.
8. Allow Gear to Fully Dry
Storing damp equipment promotes bacteria and fungus growth. After playing, remove all items from bags and let air dry completely.
9. Wash Soft Goods After Each Use
Regularly machine wash jerseys, pant shells, gloves, and socks in cold water with gentle detergent to eliminate grime.
10. Disinfect Hard Gear
Wipe down helmets, pads, guards and hard gear with antimicrobial wipes regularly to inhibit odor and germ buildup.
11. Deodorize Smelly Equipment
Despite thorough drying, hockey gear can develop odors over time. Freshen up by lightly spraying with a deodorizer after each use.
12. Choose Well-Ventilated Gear
When shopping, look for breathable mesh panels, spine vents and moisture-wicking liners to stay cool and dry.
13. Use Hockey-Specific Bags
Store equipment properly in reinforced bags designed specifically for hockey gear. Ventilated compartments protect your investment.
14. Strategically Pack Gear
Avoid placing skates and bulky pads at the bottom of bags. Use inserts and distribute weight evenly.
15. Choose Shorts With Quality Materials For Durability
Look for abrasion-resistant shorts with an integrated cup pocket. Prioritize comfort and longevity. Replace old jocks and cups regularly.
Properly maintained hockey gear enhances safety and extends equipment life. Regularly inspect and upgrade worn items while keeping gear clean, dry, and fitted. Quality protection paired with diligent care leads to confident play.
Find Shorts That Allow For Easy Cup Insertion/Removal
Hockey requires substantial protective gear to prevent injury. Use these 15 tips to properly care for your equipment so you can play safely and confidently.
1. Replace Helmets Regularly
Helmet foams lose impact protection over time. For optimal shielding against concussion, replace your lid at least every 5 years.
2. Verify Proper Helmet Fit
An improperly fitted helmet leaves you vulnerable. It should fit snug all around with chin straps tightly fastened. Front should sit one finger width above eyebrows.
3. Upgrade Pads Frequently
Replace shin guards, shoulder pads, hockey pants, and protective pads every 2-3 years as materials compress with repeated use. Confirm proper sizing.
4. Inspect Gear Before Each Game
Check all equipment for any cracks, loosening or damage compromising safety before each time on the ice. Address issues promptly.
5. Sharpen Skates Regularly
Consistent blade sharpening optimizes traction and maneuverability. Also inspect that boot padding still offers adequate support.
6. Wear Synthetic Base Layers
Polyester and synthetic moisture-wicking fabrics keep you drier. Cotton retains dampness, so opt for wicking base layer tops and bottoms.
7. Choose Moisture-Wicking Socks

Thick cotton socks hold moisture and promote blisters. Seek wool or synthetic socks to keep feet drier and prevent odor buildup.
8. Allow Gear to Fully Dry
Storing damp equipment promotes bacteria and fungus growth. After playing, remove all items from bags and let air dry completely.
9. Wash Soft Goods After Each Use
Regularly machine wash jerseys, pant shells, gloves, and socks in cold water with gentle detergent to eliminate grime.
10. Disinfect Hard Gear
Wipe down helmets, pads, guards and hard gear with antimicrobial wipes regularly to inhibit odor and germ buildup.
11. Deodorize Smelly Equipment
Despite thorough drying, hockey gear can develop odors over time. Freshen up by lightly spraying with a deodorizer after each use.
12. Choose Well-Ventilated Gear
When shopping, look for breathable mesh panels, spine vents and moisture-wicking liners to stay cool and dry.
13. Use Hockey-Specific Bags
Store equipment properly in reinforced bags designed specifically for hockey gear. Ventilated compartments protect your investment.
14. Strategically Pack Gear
Avoid placing skates and bulky pads at the bottom of bags. Use inserts and distribute weight evenly.
15. Find Shorts That Allow For Easy Cup Insertion/Removal
Look for shorts with a cup pocket that is easily accessible. Snug shorts with wide openings allow for hassle-free cup changes. Replace old jocks and cups regularly.
Properly maintained hockey gear enhances safety and extends equipment life. Regularly inspect and upgrade worn items while keeping gear clean, dry, and fitted. Quality protection paired with diligent care leads to confident play.
Look For Shorts With Anti-Odor Technology
Hockey requires substantial protective gear to prevent injury. Use these 15 tips to properly care for your equipment so you can play safely and confidently.
1. Replace Helmets Regularly
Helmet foams lose impact protection over time. For optimal shielding against concussion, replace your lid at least every 5 years.
2. Verify Proper Helmet Fit
An improperly fitted helmet leaves you vulnerable. It should fit snug all around with chin straps tightly fastened. Front should sit one finger width above eyebrows.
3. Upgrade Pads Frequently
Replace shin guards, shoulder pads, hockey pants, and protective pads every 2-3 years as materials compress with repeated use. Confirm proper sizing.
4. Inspect Gear Before Each Game
Check all equipment for any cracks, loosening or damage compromising safety before each time on the ice. Address issues promptly.
5. Sharpen Skates Regularly
Consistent blade sharpening optimizes traction and maneuverability. Also inspect that boot padding still offers adequate support.
6. Wear Synthetic Base Layers
Polyester and synthetic moisture-wicking fabrics keep you drier. Cotton retains dampness, so opt for wicking base layer tops and bottoms.
7. Choose Moisture-Wicking Socks
Thick cotton socks hold moisture and promote blisters. Seek wool or synthetic socks to keep feet drier and prevent odor buildup.
8. Allow Gear to Fully Dry
Storing damp equipment promotes bacteria and fungus growth. After playing, remove all items from bags and let air dry completely.
9. Wash Soft Goods After Each Use
Regularly machine wash jerseys, pant shells, gloves, and socks in cold water with gentle detergent to eliminate grime.
10. Disinfect Hard Gear
Wipe down helmets, pads, guards and hard gear with antimicrobial wipes regularly to inhibit odor and germ buildup.
11. Deodorize Smelly Equipment
Despite thorough drying, hockey gear can develop odors over time. Freshen up by lightly spraying with a deodorizer after each use.
12. Choose Well-Ventilated Gear
When shopping, look for breathable mesh panels, spine vents and moisture-wicking liners to stay cool and dry.
13. Use Hockey-Specific Bags

Store equipment properly in reinforced bags designed specifically for hockey gear. Ventilated compartments protect your investment.
14. Strategically Pack Gear
Avoid placing skates and bulky pads at the bottom of bags. Use inserts and distribute weight evenly.
15. Look For Shorts With Anti-Odor Technology
Seek shorts treated with antimicrobial agents to inhibit odor-causing bacteria. Ensure a snug fit. Replace old jocks and cups regularly.
Properly maintained hockey gear enhances safety and extends equipment life. Regularly inspect and upgrade worn items while keeping gear clean, dry, and fitted. Quality protection paired with diligent care leads to confident play.
Read Reviews To Find Well-Tested Hockey Cup Shorts
Hockey requires substantial protective gear to prevent injury. Use these 15 tips to properly care for your equipment so you can play safely and confidently.
1. Replace Helmets Regularly
Helmet foams lose impact protection over time. For optimal shielding against concussion, replace your lid at least every 5 years.
2. Verify Proper Helmet Fit
An improperly fitted helmet leaves you vulnerable. It should fit snug all around with chin straps tightly fastened. Front should sit one finger width above eyebrows.
3. Upgrade Pads Frequently
Replace shin guards, shoulder pads, hockey pants, and protective pads every 2-3 years as materials compress with repeated use. Confirm proper sizing.
4. Inspect Gear Before Each Game
Check all equipment for any cracks, loosening or damage compromising safety before each time on the ice. Address issues promptly.
5. Sharpen Skates Regularly
Consistent blade sharpening optimizes traction and maneuverability. Also inspect that boot padding still offers adequate support.
6. Wear Synthetic Base Layers
Polyester and synthetic moisture-wicking fabrics keep you drier. Cotton retains dampness, so opt for wicking base layer tops and bottoms.
7. Choose Moisture-Wicking Socks
Thick cotton socks hold moisture and promote blisters. Seek wool or synthetic socks to keep feet drier and prevent odor buildup.
8. Allow Gear to Fully Dry

Storing damp equipment promotes bacteria and fungus growth. After playing, remove all items from bags and let air dry completely.
9. Wash Soft Goods After Each Use
Regularly machine wash jerseys, pant shells, gloves, and socks in cold water with gentle detergent to eliminate grime.
10. Disinfect Hard Gear
Wipe down helmets, pads, guards and hard gear with antimicrobial wipes regularly to inhibit odor and germ buildup.
11. Deodorize Smelly Equipment
Despite thorough drying, hockey gear can develop odors over time. Freshen up by lightly spraying with a deodorizer after each use.
12. Choose Well-Ventilated Gear
When shopping, look for breathable mesh panels, spine vents and moisture-wicking liners to stay cool and dry.
13. Use Hockey-Specific Bags
Store equipment properly in reinforced bags designed specifically for hockey gear. Ventilated compartments protect your investment.
14. Strategically Pack Gear
Avoid placing skates and bulky pads at the bottom of bags. Use inserts and distribute weight evenly.
15. Read Reviews To Find Well-Tested Hockey Cup Shorts
Research shorts with integrated cup pockets online. Read reviews to find comfortable shorts that offer ample protection. Replace old jocks and cups regularly.
Properly maintained hockey gear enhances safety and extends equipment life. Regularly inspect and upgrade worn items while keeping gear clean, dry, and fitted. Quality protection paired with diligent care leads to confident play.


