Can You Take Lacrosse Gear On Your Carry On Bags?
Travel is now allowed for selected countries and states, so does that mean that you can bring your lacrosse gear with you on the plane?
If you plan to go on a vacation and bring your lacrosse gear with you, this is something you will definitely ask. You might also be wondering how lacrosse players bring their equipment to different places. Here are all your answers about traveling with your lacrosse gear on a plane.
Is Lacrosse Gear Allowed on a Plane?
Good news for you, because lacrosse gear is now allowed in planes. That means you can bring your lacrosse stick and head with you wherever you go. Is there a catch? Unfortunately, yes. While you can bring your lacrosse gear on the plane, you can’t bring it with you in your carry-on bag. Your only option is to bring it in the luggage area.
What about your knee pads and gloves? Should they be in the luggage compartment? Not really. Since gloves and knee pads aren’t long and don’t take up a lot of space, you can bring them with you in your carry-on bag.
The only reason why authorities don’t allow you to bring the lacrosse stick is that it goes beyond the allowable sizes and it can be used to harm a person inside the cabin.
If you plan on bringing other sports gear like hockey sticks, golf clubs, baseball bats, and other sporting equipment, you can bring them as well provided that they are checked in the luggage area. Otherwise, you will be asked to leave them behind or open your luggage again so you can store it there. You definitely don’t want that.
New Airline Guidelines
There was a time when lacrosse sticks weren’t allowed even in the luggage compartment. This is because they go beyond the size requirements and they can be dangerous for those that are in the plane (even if they’re in the cargo area). However, the Transportation Security Administration revised this back in 2013.
Why did they change it? It’s to align with the International Civil Aviation Organization standards. According to these standards, small blades that don’t have a lock are allowed even inside the cabin.
These standards also include allowing sports equipment like billiard cues, hockey sticks, golf clubs, and lacrosse sticks to be boarded into the plane. However, when it comes to golf clubs, you’re only allowed to bring two.
Another reason why the TSA changed their guidelines is so the Transportation Security Officers can better focus on searching and detecting items that pose a serious threat to the safety of people on board. This means that the focus is shifted to explosives and flammable items.
How Do You Pack a Lacrosse Stick?
So you can bring a lacrosse stick. That’s great. But how do you pack it in your luggage? Will it even fit? Here are a few tips in packing your lacrosse equipment both in the carry-on and in the luggage areas.
First, know the size of your luggage. If you are bringing a small luggage, then there’s a huge chance that your lacrosse stick won’t fit. Since the average size of a stick is 42 inches (this includes the head), you have to have a luggage that is longer than 42 inches.
However, that’s a little hard to find. What you can do is remove the head from the stick so that you have a shorter stick to keep. This is also the best practice in storing your lacrosse equipment.
When you remove the head, you’re only left with around 32 inches from your shaft. That can now easily fit in a medium-sized luggage. If you’re using a small luggage and there is no way the shaft can fit, you can just wrap your lacrosse stick, secure it with wrapping paper and bubble wrap, and then label it.
Will it count as another bag? Yes, it will. If you have a bag limit, then this can be a problem. If you don’t, then it’s better to bring the shaft separately so that it doesn’t break.
Do you have longer bags? If you do, say, a snowboard bag, then you can use this to store your lacrosse shaft. Snowboard bags are long so if you don’t have luggage that can fit the shaft but you have a snowboard bag, then this is a sign that you should bring the latter, too.
What about the pads and the gloves? How do you pack them? Pads and gloves are like clothes except that they are harder. Since they can’t be used to harm anybody, you can bring them in your carry-on bag.
Packing them is just like packing your jacket. If you plan to pack them in your luggage, you can pack them all together with your shaft and head if they’re in the same bag.
Other Tips in Bringing Your Lacrosse Equipment
Are there anything else that you should know about bringing lacrosse equipment on the plane? Other than packing your lacrosse shaft, there aren’t any other rules about storing them when you plan to fly. As long as you pack the shaft and the head in your luggage or in a bag that is secured, you are ready to go.
It helps to pack your lacrosse equipment with care. To prevent them from getting bent when your bags are being thrown, you can cover them with bubble wrap or with clothes (if you’re putting them in the same bag). Wrapping them with other things will help protect them from snapping. Sure, the lacrosse shaft is not that fragile, but why take that chance?
Overall, your priority is to make sure that your lacrosse equipment is kept properly so that they don’t cause any problems when you board the plane. Since you’ll be putting your lacrosse shaft in the luggage area, it’s also better to bring them there, too. Having them in your carry-on bag doesn’t make sense when you can maximize your bag allowance for the luggage area.
Sharing is caring!
0
shares
Why Trust Us?
At HobbyKraze, we’re passionate about helping you have the best hobby experience possible. Our team of experts researches, tests, and evaluates all product gear across various categories, providing reliable, unbiased, and informative reviews to help you make informed purchasing decisions. Our reviews are based on hands-on testing, research, analysis of customer feedback and everyday expertise, where required. We continuously update our reviews based on changes in product availability or new information to ensure that you’re getting the most up-to-date recommendations
Quick Fixes for Your Car’s Infotainment System
If you’ve ever had a navigation screen freeze or go blank in the middle of a road trip, or you couldn’t get your phone to connect or music to play, you know how frustrating it can be when an infotainment system suddenly stops working. You’re not alone: Infotainment problems are some of the most common reliability complaints in our exclusive reliability surveys.
Sometimes fixing the problem can be as simple as unplugging your phone from the USB port and plugging it back in, or turning the car on and off again. But occasionally, the fix requires resetting or rebooting your car’s infotainment system. Kind of like hitting Ctrl-Alt-Delete or selecting “Force Quit” on a computer, a reboot or reset can stop your car’s infotainment system from acting up or even return it to factory default settings. You can do it yourself—and we’ll show you how.
We asked automakers to share the instructions they give their own dealerships and service technicians for resetting frozen infotainment systems. Then the experts at Consumer Reports’ Auto Test Center put their fixes to the test on our own fleet of test vehicles. Below, you’ll find detailed instructions for resetting recent infotainment systems in most vehicles from major brands.
If the fixes below don’t work or if your car isn’t on the list, you’ve got other options, says Michael Crossen, Consumer Reports’ mechanic and longtime master technician.
Apple CarPlay running on a Honda infotainment system.
Honda
Honda
If the problem is with your phone connection, start by turning your phone on and off, and check to see if your phone—or your car—needs a software update. “I have seen a phone stop working after the phone performed a software update,” Crossen says. “In these cases, you have to wait for a car software update to be available in order to fix it.” Some cars will prompt owners to download new software over a cellular or WiFi connection, while others will require a trip to the dealership.
You can also check YouTube for infotainment tutorial videos. Chances are, someone else had the same problem and they may have put the solution online. If all else fails, make an appointment at the dealership. “Make sure you can accurately describe the issue, and take video or a picture when the system is failing, especially if the problem is intermittent,” Crossen says.
Here’s how to get started:
MMI (2015-2017 model years)
Press and hold the menu key, the rotary knob, and the button that sits at the upper right of the rotary knob.
MMI with virtual cockpit (2017-2019)
Push forward and then hold in place the Nav/Map and Radio buttons while pushing down the rotary knob for about a second.
MMI with two screens (2019)
Hold the volume button down for 10 seconds.
MMI touch response/MIB3 (2019-2023)
Press and hold the volume knob or volume button until the welcome screen reappears, which should take about 15 seconds.
CCC system with nav (roughly 2004 through 2010)
Press and hold the eject button for the DVD and CD drives, then press the audio system power button for about a second.
CIC (2010-2015)
Press and hold the audio volume knob for 25 seconds.
iDrive 4 (2014-2017)
Hold down the iDrive knob, then press the CD/DVD eject button and audio system power button for about a second.
iDrive 7 and 8 (2018-2023)
Press and hold the volume knob for more than 20 seconds.
Includes Chrysler, Dodge, Jeep, Ram, and some Maserati and Fiat vehicles.
Uconnect with 8.4-inch screen (2013-2019)
Put the car into accessory mode by hitting the ignition button but without having your foot on the brakes. This turns on the accessory systems of the car. Then hold the temperature up button (red) and the temperature down button (blue) simultaneously for at least 8 seconds. The engineering menu should appear. The last menu item on the first page is Reset Radio. This will reboot the system.
Uconnect (2013-2019)
Press and hold down the mute and source buttons for up to 10 seconds.
Uconnect 5 (2020-2023)
Press and hold the power button for 5 seconds.
My Ford/Lincoln Touch (2014-2017)
Press and hold the fast-forward and the audio system power buttons for at least 5 seconds.
Sync 4 (2018-2023)
Simultaneously press and hold the seek forward and audio system power button for 10 seconds.
Sync 4A (2021-2023)
Simultaneously press and hold the seek forward and volume down buttons on the steering wheel for 10 seconds.
The infotainment system in a newer Hyundai. You can see the small reset button below the volume control.
Photo: Hyundai
Photo: Hyundai
All 2014-2019 Systems
Press and hold down the audio system power button for at least 10 seconds.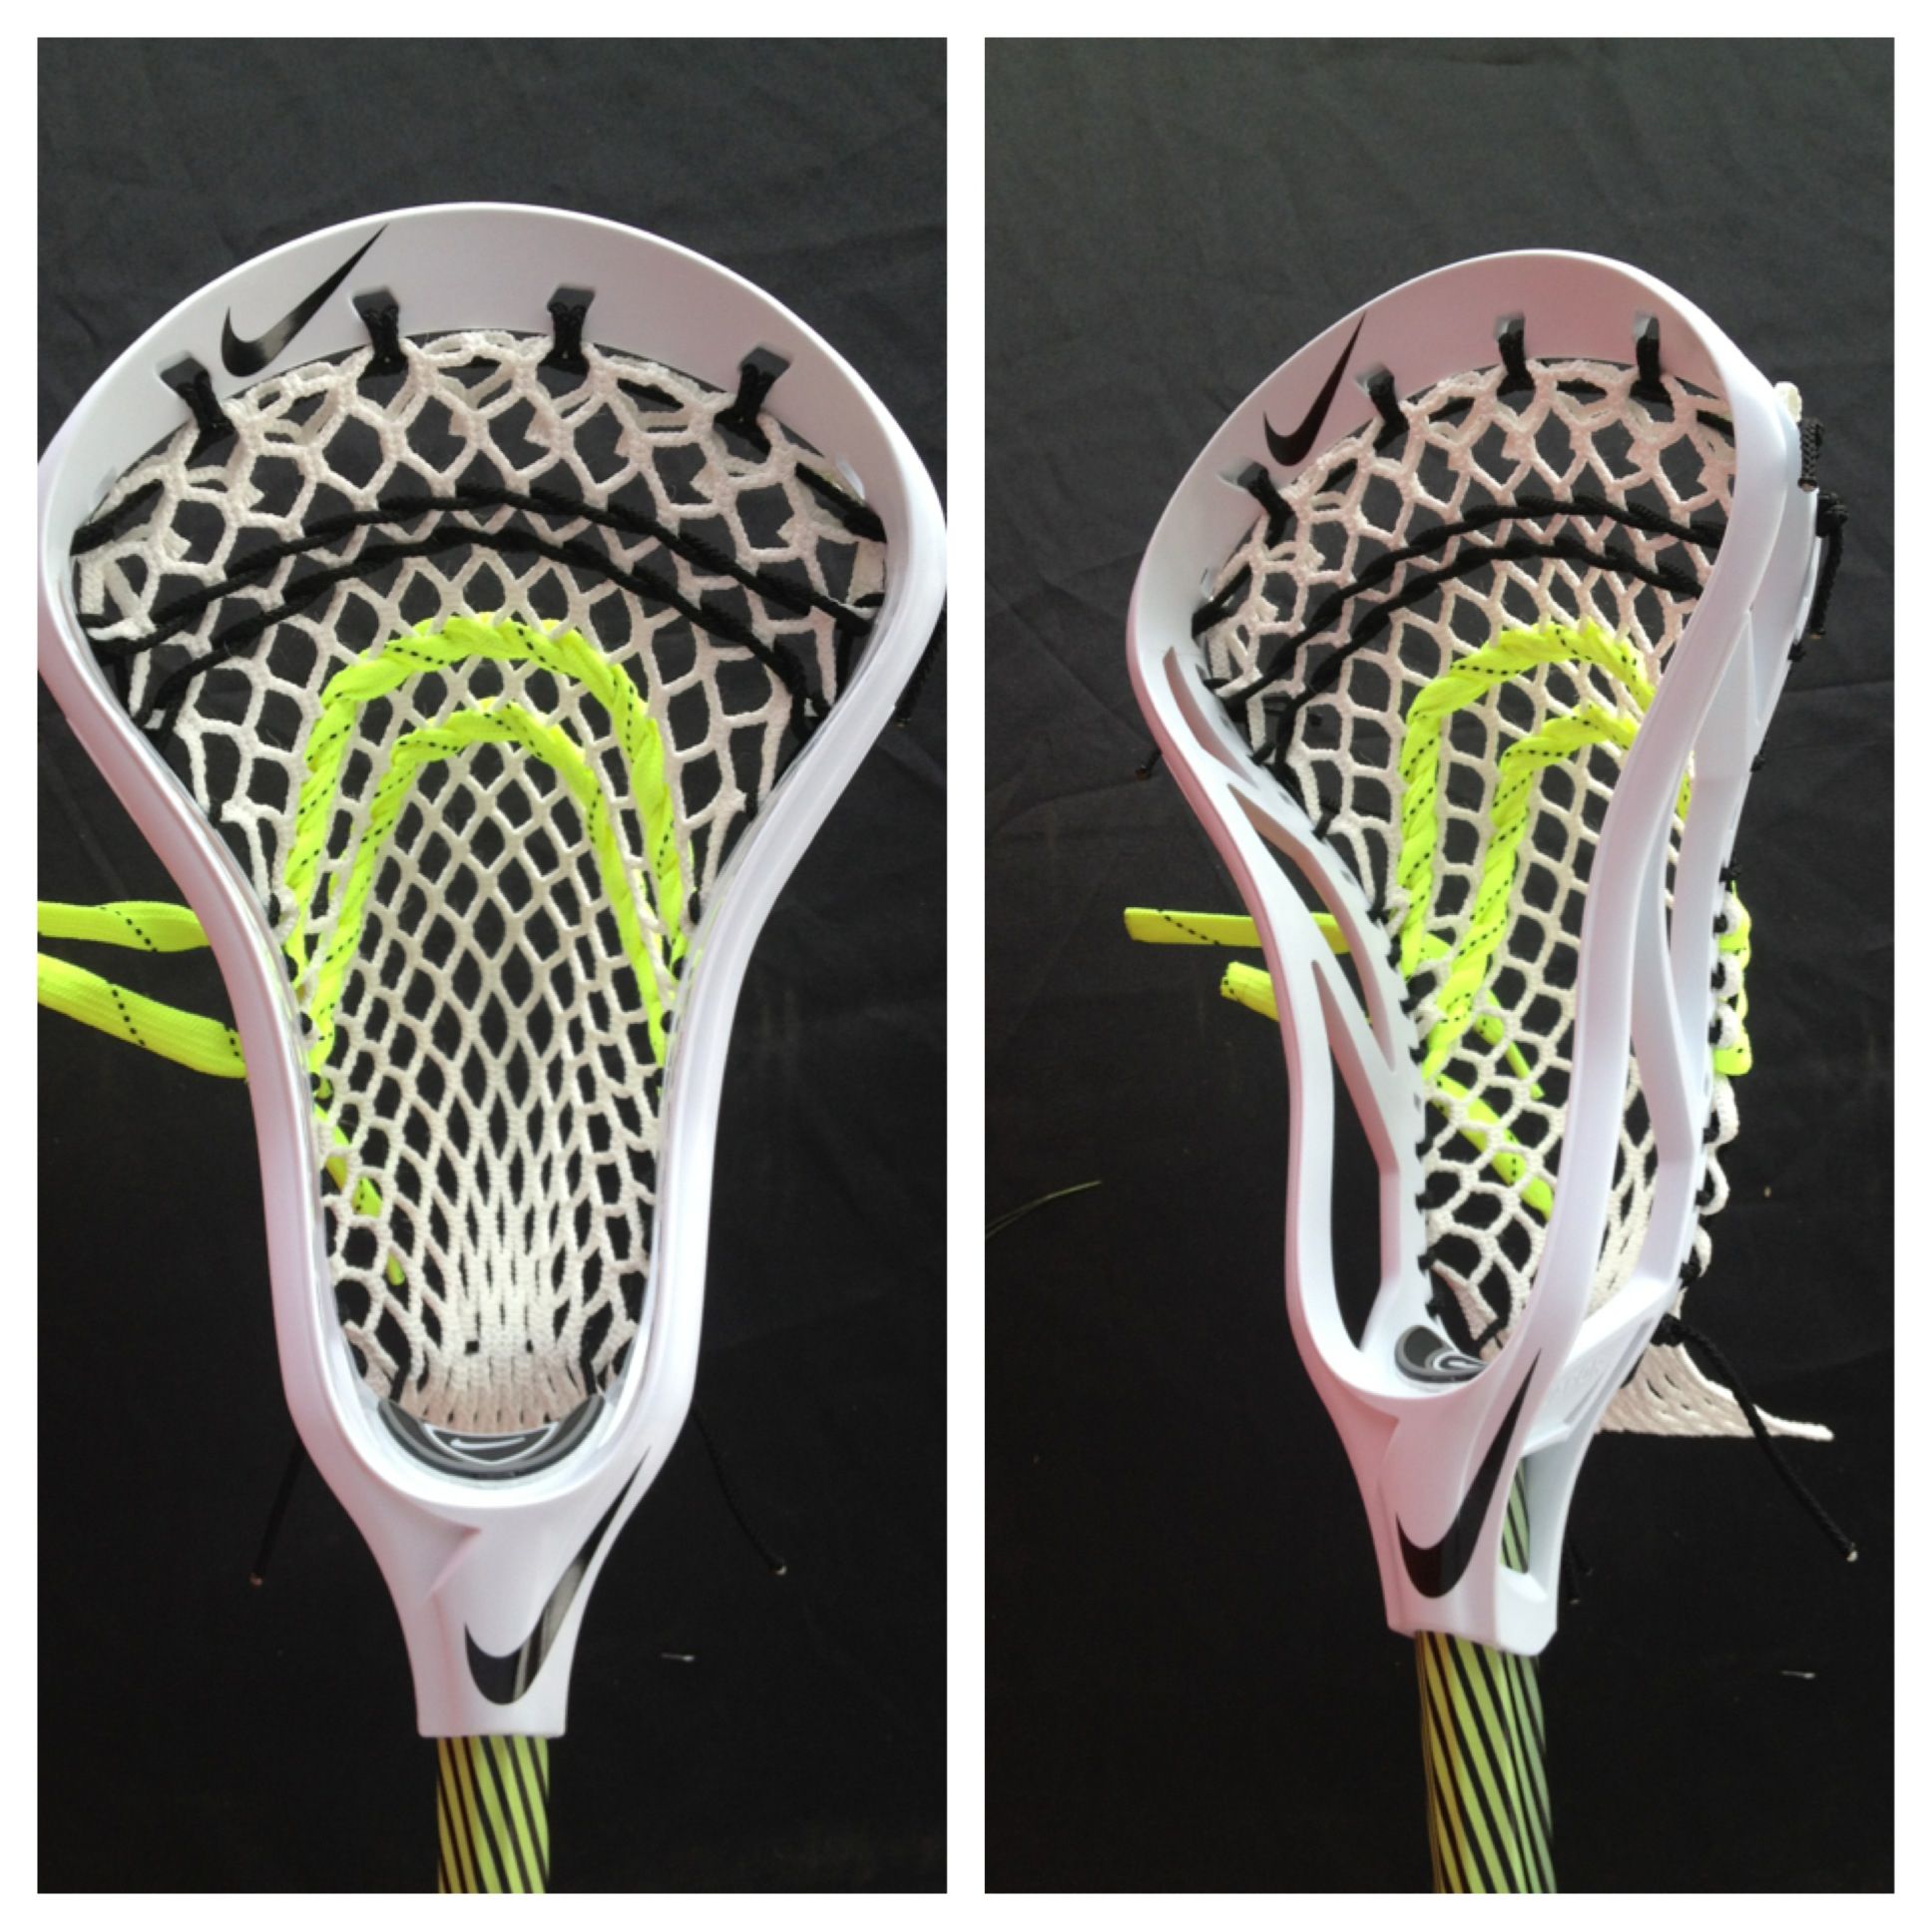
2020-2023 Hyundai Systems
Use a paper clip or ballpoint pen to press the “system reset button.” The exact location varies by model and year, but it’s a small and unmarked hole that’s often near the volume knob. Wait a few minutes for the system to power back on.
2021-2023 Genesis
At the same time, press the Map & Setup buttons below the touchscreen for about 6 to 8 seconds. You may need to turn the vehicle to Accessory mode first by pressing the engine start/stop button without your foot on the brake.
2019-2023 Kia Systems
Use a paper clip or ballpoint pen to press the “system reset button” on or near the infotainment system buttons in the center console.
Includes Cadillac, Chevrolet, Buick, and GMC vehicles.
Mylink/Intellilink (2014-2016)
Press the home and fast-forward buttons for at least 10 seconds.
GM infotainment (2017-2019)
Press the Onstar call button, then hang up.
GM infotainment without built-in Google (2019-2023)
Turn the car off, then turn it back on again.
GM infotainment with Google (2022 and newer full-sized trucks and SUVs, Cadillac Lyriq, 2023+ Chevrolet Colorado and GMC Canyon)
In Park, press and hold the phone hangup button on the steering wheel for 10 seconds.
HondaLink/AcuraLink (2016-2023)
Press and hold the audio system power button for 5 seconds. A menu may pop up and ask you if you want to reboot the system. If this doesn’t work, turn the vehicle off, open the driver door, close the driver door, and restart the vehicle.
Intouch and touchscreen (2014-2023)
Press and hold down the audio system power knob for at least 7 seconds.
InControl Touch Pro (2019-2023)
Press and hold the power button for 10 seconds.
All systems (2016-2023)
Press and hold down the audio system power knob or power/volume knob for at least 7 seconds.
Mazda Connect (2014-2019)
Press and hold the Back button, the Nav button, and the Mute button for at least 10 seconds. Mazda says this sequence may not work for all vehicles.
Mazda Connect (2020-2023)
Mazda says that the only way for drivers to restart the system is to turn the vehicle on and off again.
All systems (2019-2023)
The automaker tells CR that owners should bring the car to an authorized Mercedes-Benz dealership if the infotainment system doesn’t reset itself after freezing or becoming unresponsive.
All systems (2007-2011)
Press and hold down the audio system power knob for at least 20 seconds.
The infotainment system in a 2023 Nissan Pathfinder.
Photo: Nissan
Photo: Nissan
All systems (2009-2023)
Press and hold down the audio system power button for about 10 seconds until the Nissan logo appears, signifying that the reboot is underway.
All vehicles
Press and hold the thin horizontal white bar at the bottom of the center touchscreen for 20 to 30 seconds.
All vehicles
Put the vehicle in Park. Find the outermost control buttons on the steering wheel. Press both buttons at the same time and hold for 15 seconds.
Starlink (2019-2023)
Press and hold down the audio system power knob for at least 10 seconds.
Main Screen (2012-2023)
Press and hold down the two scroll wheels on the steering wheel for at least 10 seconds.
The infotainment system in a 2023 Toyota Corolla.
Photo: Toyota
Photo: Toyota
Entune (2012-2019)
Press and hold the audio system’s volume/power knob for about 3 seconds or until the system resets.
Toyota Audio Multimedia (2020-2023)
Press and hold down the audio system’s volume/power knob for at least 7 seconds.
MIB, MIB 2, and MIB 3 systems (2012-2023)
Press and hold down the audio system power knob or button for at least 10 seconds.
Sensus Connect (2016-2023)
Press and hold down the home button for 20 seconds. Continue to hold the home button until the display turns off, then release it when the Volvo logo appears.
Google (2021-2023)
Turn the vehicle on and off.
Keith Barry
Keith Barry has been an auto reporter at Consumer Reports since 2018. He focuses on safety, technology, and the environmental impact of cars. Previously, he led home and appliance coverage at Reviewed; reported on cars for USA Today, Wired, and Car & Driver; and wrote for other publications as well. Keith earned a master’s degree in public health from Tufts University. Follow him on Twitter @itskeithbarry.