Preparing the Lacrosse Stick Shaft Before Taping
Proper preparation of the lacrosse stick shaft before taping is an important first step that many players overlook. Taking the time to correctly prep the shaft will allow the tape to adhere better and result in a smooth, wrinkle-free tape job.
First, inspect the shaft for any dirt, debris, or old tape residue. Use a clean rag to wipe down the entire shaft, removing any particles or sticky remnants from past tape jobs. This cleaning will provide the new tape with a blank canvas to stick to.
Some players also like to slightly roughen up the shaft surface before taping by using 150 grit sandpaper. Lightly rubbing the sandpaper lengthwise along the shaft will create micro-abrasions in the surface that allow the adhesive from the tape to grip even better. However, this is an optional step and must be done gently to avoid removing graphics or logos.
Another key preparatory step is to make sure the shaft is completely dry before taping. Any moisture or condensation on the shaft will prevent the tape from bonding properly. It’s recommended to clean and prep the shaft at least 20-30 minutes prior to taping so it has time to fully air dry.
Players who use grip aids like stick wax must remove any excess buildup before taping. Leftover grip products can make it hard for tape to adhere. Give the shaft a final wipe down with a dry cloth right before taping to pick up any last bits of dirt or debris.
Proper prep work takes less than 5 minutes but makes a big difference in the tape job quality and longevity. Taking the time to correctly clean and dry the lacrosse stick shaft prior to taping allows the tape to stick as intended for an optimal tape job.
Different Types of Lacrosse Tape and Key Features
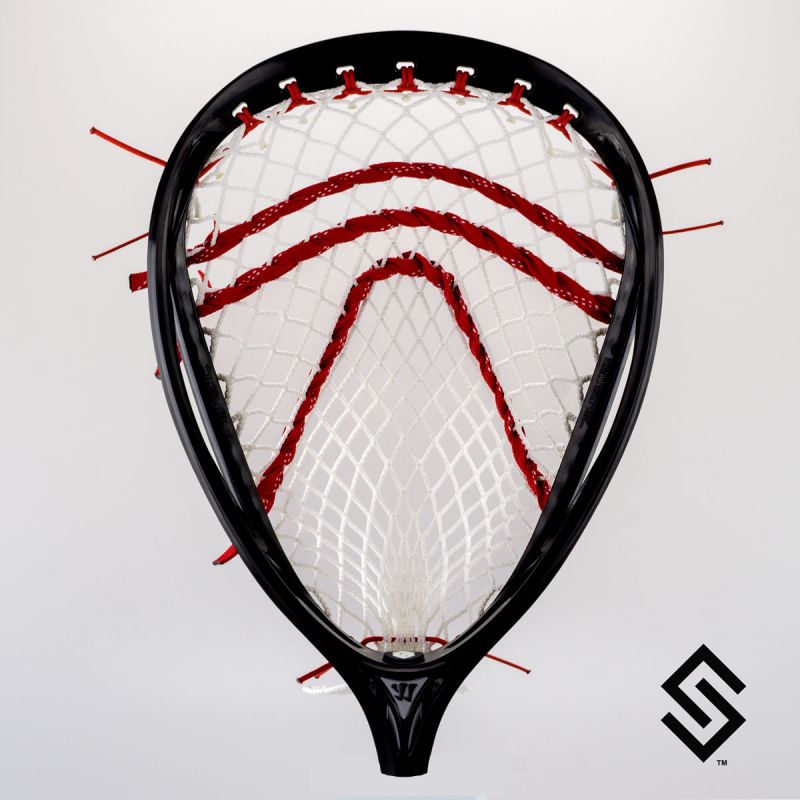
When taping up their lacrosse stick, players have several types and brands of tape to choose from. The main options are traditional cloth athletic tape, synthetic grip tape, and specialized lacrosse tape. Each variety has unique properties and key features to consider.
Cloth athletic tape is the old school choice, made of cotton or a cotton/polyester blend. The fabric weave provides decent grip and shock absorption. However, plain cloth tape tends to wear quickly and lose stickiness when wet from rain or sweat. It also does not have much stretch or give.
Synthetic grip tapes offer more durability and weather resistance than traditional cloth versions. These tapes are constructed using polyurethane, vinyl, or other synthetic materials. Grip tape is very sticky and provides noticeably more traction, though less cushioning. Popular brands like Goat Tape and Lizard Skins fall into this category.
Specialized lacrosse tapes are engineered specifically with the sport in mind. They aim to strike a balance between durability, grip, and shock absorption. Well-known companies like Maverik and STX make tailored lacrosse tapes marketed to players. These tapes feature enhanced adhesive formulas to prevent unraveling and add texture for control.
When deciding which variety to use, consider playing position and weather conditions. For example, goalies may opt for more padded cloth tape for stopping hard shots. Defenders tend to choose grippy synthetic tapes for checks and pokes. Attackmen can benefit from lacrosse-specific tape that provides both grip and cushioning. And during wet spring games, waterproof synthetics have a leg up.
Testing out different tape types and brands is recommended to find one with the right blend of features for each player’s preferences. Consider taping the top and bottom of the stick shaft with different tapes to leverage the benefits of each.
Taping Materials Needed – Tape, Scissors, Gloves

Before starting the taping process, lacrosse players need to make sure they have all the necessary materials on hand. At a minimum, you’ll need lacrosse tape, scissors, and gloves.
Having quality tape designed for lacrosse is obviously paramount. As mentioned, there are a few types of tape to choose from including cloth, synthetic grip, and specialized lacrosse varieties. Pick a tape type and brand you find optimal for grip, cushioning, and durability. Most tapes come in a standard 1 inch x 10 yards size, but some brands offer wider 1.5-2 inch rolls as well.
A good pair of sharp scissors is essential for cleanly cutting the tape during the wrapping process. Standard household scissors can work, but many players prefer specialized tape scissors that are slightly curved for easier handling. Carrying a backup pair in your gear bag is recommended in case one gets lost or damaged.
Wearing gloves while taping is highly advised to keep the tape adhesive from sticking to your hands and to maintain clean hands. Thin cotton gloves or latex/nitrile gloves work well. Fingerless padded lacrosse gloves can also be worn if needed for protection while cutting tape with scissors.
Additional handy items include an emery board or metal stick to smooth down end edges, extra adhesive tape to prevent unraveling, and a rag for cleaning the shaft before taping. Carrying extra tape rolls in your bag for re-taping mid-game is also wise.
Taking a few minutes to gather all the necessary taping materials in one place will make the process smooth and hassle-free. Having quality gear designed for lacrosse helps maximize results. And storing supplies properly between uses ensures they last over the course of a season.
Start Taping at the Bottom of the Shaft
Once the lacrosse stick shaft is prepped and materials are gathered, players can begin the actual taping process. It’s recommended to start taping from the bottom of the shaft and work upwards towards the head.
Beginning at the butt end prevents overlap and bunching issues as you wrap upwards. The tape should be anchored 1-2 inches past the end of the shaft. Cut a piece of tape 6-12 inches long to start. Fold over the end about a 1⁄2 inch and press it firmly to the bottom of the shaft, then continue wrapping upwards.
Maintain consistent overlap of about 1⁄4 to 1⁄3 the width of the tape as you work up the shaft. Many players overlap halfway, but less overlap increases grip. Avoid wrapping too tightly initially—some minor gapping is expected and will close up as you go.
Keep the tape roll perpendicular to the shaft as you wrap for optimal adhesion. Cut pieces 10-12 inches long as you move up the shaft, using the scissors to cleanly slice the tape without ripping. Smooth down the end edge after each cut.
Watch for wrinkles, ripples and gaps as you wrap. Gently stretch and squeegee the tape to remove any bubbles or ripples. Small gaps will close up with wrapping tension. Be prepared to unwrap and re-do sections if needed.
Once you reach the throat of the stick head, you can finish off the tape job by tapering and overlapping the end piece. Then use an emery board or metal pick to tuck in any loose edges.
Starting at the bottom and working methodically up the shaft prevents many headaches compared to taping top-down. The bottom-up approach results in a tightly wrapped, professional looking tape job that provides great grip and protection.
Wrap the Tape Tightly and Avoid Wrinkles
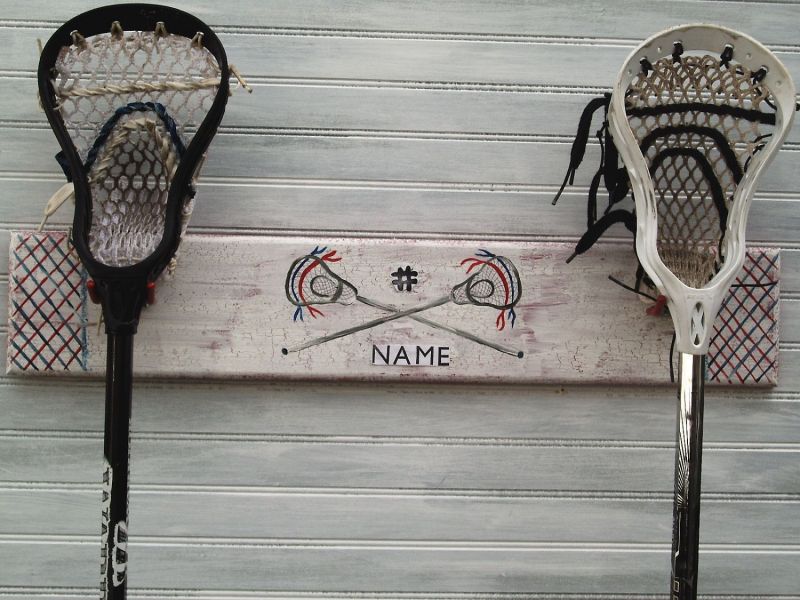
As lacrosse players wrap tape up the stick shaft, it’s important to maintain proper technique to end up with a smooth, wrinkle-free tape job.
The tape should be pulled taut as you wrap, but not stretched too thin. Keep consistent tension to tightly bind the tape to the shaft with no gaps between wraps. Too loose and the tape won’t offer much grip or protection. Too tight and it could cut off circulation.
Work slowly and methodically, lightly stretching the tape as you wrap to avoid bumps, ripples and wrinkles. If any do form, immediately smooth them out with your fingers before proceeding. It’s much easier to fix wrinkles as you go rather than unwrapping a whole section later.
Don’t be afraid to unwrap and redo small sections as needed. Watch for thin spots, loose areas, gaps, overlaps and creases. Mastering a wrinkle-free wrap takes practice. Having backup tape on hand allows you to re-do imperfect sections.
The tape should feel snug when you rub your hand along it without constricting the shaft. Test sections by sliding your gloved hand back and forth – if it catches on ridges or wrinkles, re-do that area. The finished wrap should be smooth as glass.
Be patient and detail oriented as you wrap. Rushing leads to mistakes. Take your time and focus on keeping proper tension and overlap with each pass up and down the shaft. A little extra time invested results in a pro-quality tape job that looks great and performs even better.
With practice, lacrosse players can master the art of a tight, wrinkle-free tape wrap. It not only looks more polished, but also provides superior grip and protection. Taking it slow and smoothing out imperfections as you go ensures optimal results.
Taping Techniques for Attackmen vs Defenders
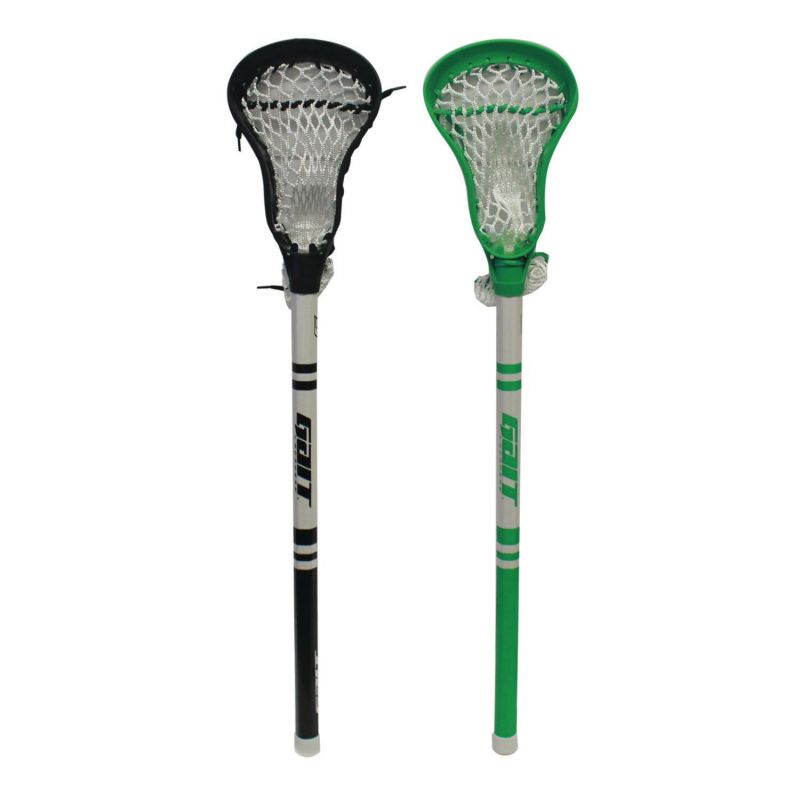
In lacrosse, attackmen and defenders have slightly different preferences when taping their sticks. Knowing position-specific techniques can help optimize performance.
For attackmen, feel and ball control are top priorities. They tend to use less tape and wrap more loosely to maximize touch on cradles, scoops and passes. A lighter overall wrap with more grip tape focused on the upper shaft and throat is common.
Defenders rely more on poke checks and slashing during play. They tend to use extra padding and reinforcements in vulnerable areas for protection from checks. More tape is often concentrated near the head and bottom of the shaft.
Attack sticks benefit from taping the upper shaft with lighter grip-focused tape for handling finesse, then use thicker padded tape on the lower shaft for checks. Defenders may opt for thicker cushioning tape throughout with extra reinforcement on the throat.
Customizing tape jobs to playing style and position is common. For example, specialized shooting strings are sometimes incorporated into tape wraps to generate more ball whip on shots. Goalies also have unique taping needs for protecting hands from stingers.
The key is testing out different taping methods in practices to see what feels best for your position. Don’t be afraid to experiment with using different tapes, amounts of wrap, and techniques on different stick areas until you dial in your ideal taping approach.
Understanding the differences in ideal taping for attackers versus defenders can help every player find their optimal tape job. A more personalized approach based on techniques for specific positions results in better overall performance.
Using Colored Tape for Easier Identification
Applying colored lacrosse tape allows players to easily identify their stick at a glance. Beyond just looking cool, it serves several functional purposes during games and practices.
On the field during play, colored tape makes it quicker to locate your specific stick after passing, shots or saves. A bright color scheme stands out from teammates’ neutrally taped sticks for fast identification after ground balls and in pile ups.
It also enables players to pick their stick out immediately on the sidelines or in the team bench area. No more guessing or confusing sticks that all look the same!
For coaches and officials, colored tape assists with quickly identifying sticks that may be in violation of rules. It speeds up stick checks and helps discourage players from attempting to hide illegal head modifications or strings.
Youth lacrosse coaches often use colored tape to designate positions, teams or drills during practices. Tape colors can help organize large teams and keep things moving smoothly.
Choosing the right colors and designs allows players to express their individual style and personality. Players often match colored tape to uniforms, gloves, shoes and other gear for customization and consistency.
With so many color varieties available from brands like STX and Maverik, the options are endless for creating unique and identifiable tape jobs. Using colored lacrosse tape improves visibility of each player’s stick for both functional and aesthetic purposes.
Creative Taping Styles and Designs

Beyond just function, lacrosse stick tape jobs present players with creative opportunities to add style and personalized designs.
Taping the shaft in a spiral pattern rather than straight up and down provides an eye-catching look. Alternating two or more colors in the spiral creates cool effects. Stripes, diagonal lines, argyle patterns and color fades are also popular designs.
Players can incorporate personal numbers, initials, names or nicknames into the tape job using contrasting colors. Teaming colors and playing around with geometrical shapes and lines allows for unlimited custom designs.
Being strategically creative with tape placement is another way to make a statement. Placing brightly colored grip tape on high wear areas or using extra reinforcement at vulnerable points packs function into artistic flair.
Modern tape styles have come a long way from the traditional vertical wrap. There are no rules saying tape has to be boring. Many lacrosse brands sell pre-designed tape kits so players can stand out.
Taping the lower grip area on goalie sticks with a different pattern than the upper shaft is an easy way to blend form and function. Extra pieces of tape just above the throat or around the scoop add protection.
With a little imagination and experimentation, lacrosse stick tape jobs can be transformed from plain to extraordinary works of art. Creative tape designs allow players to express their personal style on the field.
Re-taping Worn Out Tape Jobs
As lacrosse tape wears from use during games and practices, players eventually need to re-tape their sticks to maintain optimal grip and protection.
The most obvious sign it’s time to re-tape is when the wrap becomes visibly frayed, peeled or loose. Tape loses adhesion as the adhesive wears off from abrasion and sweat. Fraying edges catch on gloves and uniform during play.
Performance clues also indicate when a re-tape is needed. Too much slippage in the hands shows loss of grip. Stinging hands or bruising from checks reveals lack of padding. Noticeable differences in feel and control compared to a fresh wrap means it’s time.
Goalies may need to re-tape more frequently than field players. The constant impact from saving shots accelerates tape wear. Any noticeable decline in protection for the hands calls for fresh tape.
A good rule of thumb is to re-tape sticks after 3-5 days of heavy use. Players should keep backup tape in bags to re-wrap as needed during tournaments or multi-day showcases when wear will be accelerated.
It’s beneficial to re-tape with the same style and brand each time to maintain consistent feel. Having a go-to tape choice dialed in helps ensure optimum grip, cushioning and performance every re-wrap.
Don’t wait until tape is completely falling apart to re-do it. Re-wrapping sticks before extensive wear occurs preserves playability and prevents injuries to the hands. Keeping fresh tape on your stick improves performance.
Pro Tips for Optimal Grip and Control
Applying tape to a lacrosse stick isn’t just about protecting hands and adding cushioning. Proper taping technique also enhances overall grip and control.
Using grip-focused tape on high wear areas like the throat and upper shaft provides noticeably better handling. Brands like Lizard Skins make tape specifically engineered to stick and conform to hands.
Strategic placement of grip tape on lower sections of the shaft that contact gloves boosts stability during checks and ground balls. Small pieces at the very bottom prevent slippage during face-offs.
Lightly damping the shaft before wrapping or slightly heating the tape activates the adhesive for max stick. But too much moisture prevents the tape from bonding correctly, so find the right balance.
Leaving small gaps between tape strips or perforating the wrap with holes allows direct hand contact with the shaft for enhanced feel and grip. Less tape with more bare shaft areas can optimize overall control.
Applying extra layers of tape in high wear areas instead of wrapping the entire shaft heavily distributes protection and traction optimally. Use just enough tape in each area to enhance grip and durability.
Testing out different specialized tapes with unique grip formulations is key to finding which works best. Having go-to tape choices for shafts, heads and handles dialed in is a must.
Taking the time to tape sticks properly pays off big in improving overall ball control, feel, and command of lacrosse sticks. Strategic grip placement is just as crucial as padding.
Common Taping Mistakes to Avoid

While taping lacrosse stick shafts, there are some common mistakes players should aim to avoid.
Rushing is one of the biggest pitfalls. Taking time to tape methodically results in a smoother, tighter wrap. Trying to tape too quickly leads to wrinkles, gaps and other issues that compromise performance.
Insufficient overlap between wraps leaves the tape loose and likely to unravel with use. Consistently overlapping around 1/3 of the tape width binds it tightly to the shaft.
Not applying consistent tension is another mistake. The tape should feel snug without compressing the shaft. Erratic tension leads to some sections feeling loose while others are too tight.
Failing to smooth ripples and wrinkles as you wrap causes bumps and ridges that impact feel. It’s much easier to squeegee out creases as you go versus re-taping whole sections.
Wrapping over dirt, debris and old tape residue prevents adhesion and causes the new tape to peel quickly. Properly cleaning shafts beforehand improves bonding.
Cheaping out on tape quality usually backfires. Premium lacrosse-specific tape lasts longer and provides better grip than budget hardware store brands.
Waiting until tape is completely falling apart to re-wrap reduces playability and protection between tape jobs. Re-taping more frequently ensures fresh grip.
Avoiding these common missteps helps lacrosse players get pro-quality results taping their sticks. Patience, precision, and quality materials are key.
Removing Old Tape Without Damaging the Stick
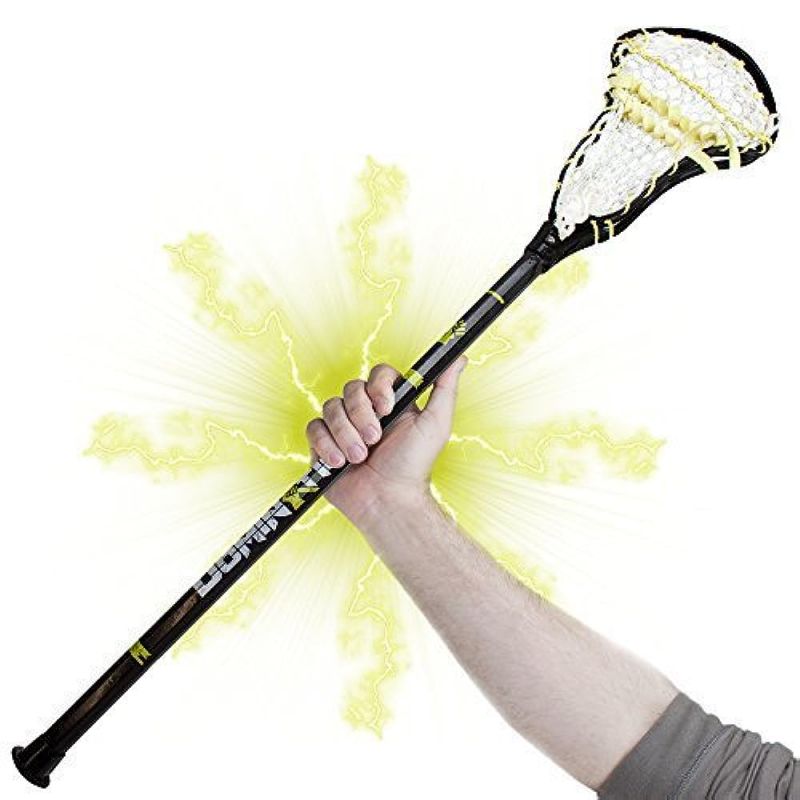
When it’s time to re-tape a lacrosse stick, properly removing old tape is crucial to avoid damaging the shaft or head.
Trying to simply rip old tape off by hand can bend or splinter shafts. Using a sharp knife risks deeply scratching or gouging the stick.
Instead, carefully cut along the tape lengthwise with scissors to divide it into strips, then slowly peel the sections away one piece at a time. Gently roll the tape off rather than yanking hard.
Rubbing alcohol, Goo Gone or other adhesive removers can help dissolve residue glue and loosen the bonding. Apply a few drops as you slowly roll off tape strips for easier removal.
For tape that’s badly stuck on, heat is effective for loosening the adhesive. Carefully apply a hairdryer on the warm setting to the taped areas, moving it continually to prevent damaging the stick. As the glue softens, the tape will peel off easier.
Be extremely careful around stringing, sidewalls and other delicate areas. Slowly peel tape back diagonally across strings rather than perpendicularly to avoid catching and snapping them.
Any remaining sticky residue left after removing old tape can be rubbed off using steel wool or fine grit sandpaper. Avoid abrading too aggressively near graphics and logos.
With the proper tools, techniques and care, old lacrosse tape can be removed effectively without wrecking sticks. The key is being patient and methodical throughout the process.
Caring for the Taped Stick – Storage and Maintenance
Properly caring for taped lacrosse sticks through proper storage and maintenance extends the life of tape jobs.
Keep sticks out of direct sunlight when not in use. The UV rays can accelerate tape breakdown and cause the adhesive to soften and lose stickiness faster.
Allowing tape to air dry fully after games or practices before storage preserves adhesion. Storing sticks in bags while tape is still damp allows moisture to penetrate and loosen the bonding.
Clean sticks gently after each use with a dry microfiber cloth to remove dirt, debris and sweat residue from tape. Built-up contaminants on tape cause abrasion and wear.
During storage, either lay sticks horizontally with the shaft supported or hang vertically using stick stands. Leaning upright against walls can cause warping.
When transporting sticks in bags, avoid piling heavy gear like pads and helmets on top that can crush or bend the shafts. Use stick sleeves or dividers.
Re-taping small sections as wear becomes noticeable preserves the entire tape job longer before a full re-wrap is needed.
Being cautious not to drag taped shafts along abrasive surfaces like concrete or blacktop helps minimize scuffing and peeling.
Proper storage and care extends the life of lacrosse tape jobs. Keeping shafts clean, dry and protected preserves adhesion and performance.
When to Re-tape – Before Games and After Heavy Use
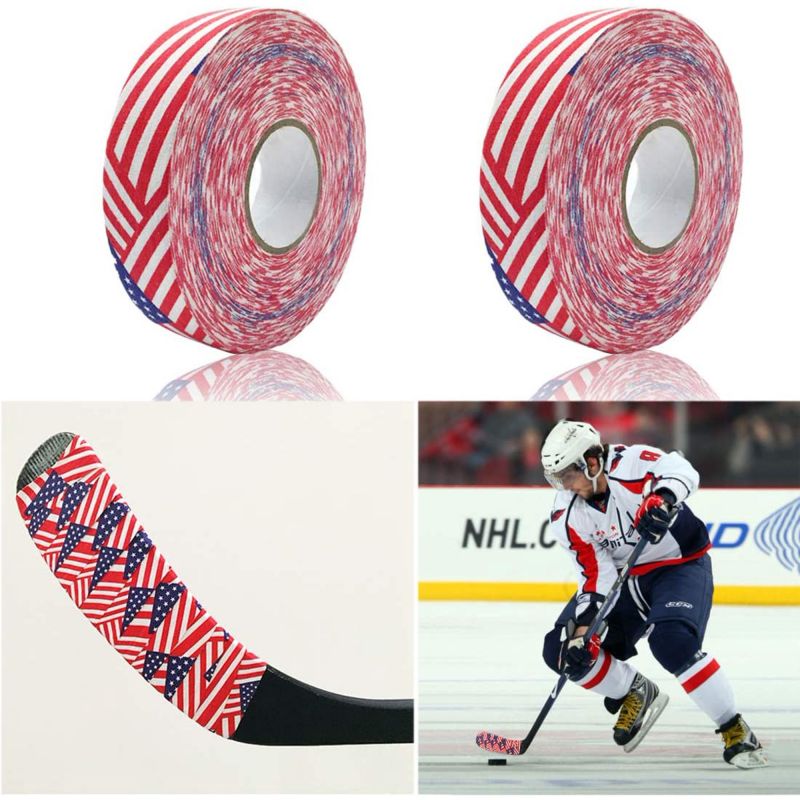
Determining the optimal time to re-tape lacrosse sticks ensures fresh grip and protection when it matters most.
Re-taping the night before or morning of a game helps provide maximum control and feel. Old tape that’s worn and weathered won’t offer the same performance in critical games.
Similarly, re-wrapping sticks before tournaments or multi-day showcases restores grip and response for optimum play across consecutive outings.
Players should also re-tape sticks after 3-5 days of heavy use at practices or workouts. High intensity play and repeated contact work accelerates tape wear.
Goalies may need to re-tape more frequently than field players due to continual ball impact on their sticks. Re-wrapping every 2-3 practices or anytime performance drops helps prolong protection.
When preparing for playoffs or championships, fresh tape jobs help minimize distractions. You want to be focusing on play, not worn out tape.
Before games is the best time to swap in any design or color changes too. New tape with custom colors and patterns provides fresh style.
Don’t wait until tape is barely hanging on before re-wrapping. Be proactive replacing worn tape before it fails. Well-timed re-taping ensures ideal stick performance when it matters most.
Properly Taping Lacrosse Stick Handles
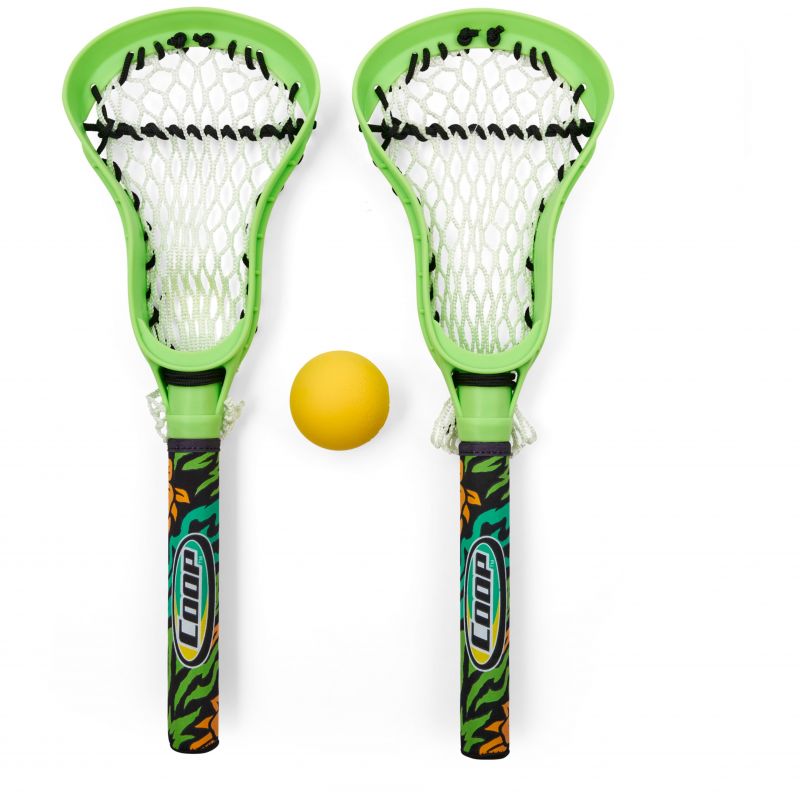
While shaft taping gets most of the focus, properly wrapping lacrosse stick handles is also important for optimal performance.
The handle takes a beating from endless cradling, shooting and passing reps. Frayed tape leads to blisters and diminished feel. Re-wrapping the handle area frequently preserves grip and control.
Thinner, grip-focused tape works best for handles. Thick cushioned tape interferes with precision hand movements and feel for the ball’s touchpoints during play.
Build up multiple grip tape layers in the high-wear palm area of the handle bottom. Focusing extra tape thickness where hands make the most contact optimizes durability.
Wrap tape overhangs inward into the bottom of the head cavity by 1-2 inches. This anchors the tape while positioning the grip end right at the base of the head for ideal handling.
On goalie sticks, extend the bottom handle tape upwards several inches above the throat to protect hands from stingers. Extra reinforcement prevents bruising and blisters.
Re-taping heads every few practices or games will provide a fresh grip that maintains ball control. Don’t wait for handle tape to become completely ratty before replacing it.
With lacrosse heads taking constant abuse, regularly re-wrapping handles with grip tape keeps hands protected and securely controlled. Proper handle taping improves performance.